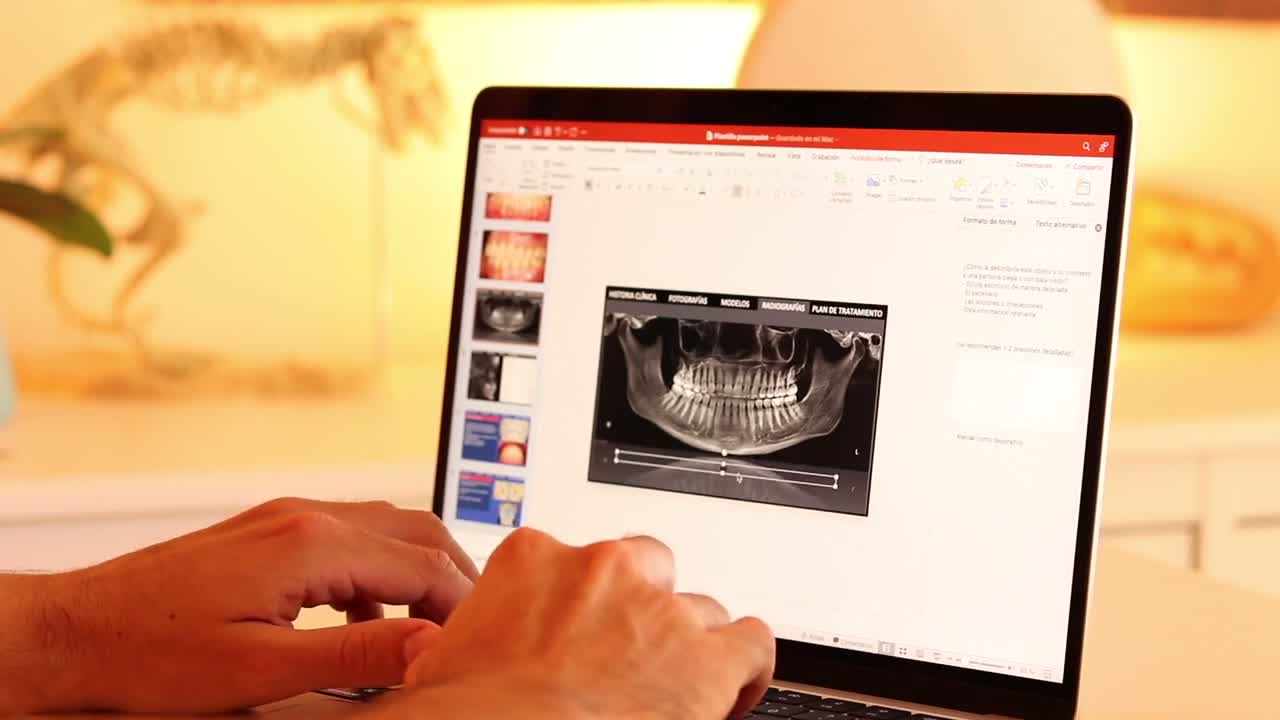
OrthoKit can generate PowerPoint presentations with the patient’s photos, radiographs and data. You can use the included template, modify it to match the clinic’s visual identity or prepare your own template with text and image codes.
Before You Start
- Check that the patient has enough photos, radiographs and data for the study.
- Have PowerPoint installed if you are going to edit templates.
- If you work from Keynote, first export your file to PowerPoint format.
Export a Study
- Open the patient in OrthoKit.
- Click
Export Studyin the lower-left bar. - In the top table, select the sections you want to include. Selected sections are exported, except budgets.
- Click save and choose PowerPoint as the output format.
- Wait for OrthoKit to generate the file. If the patient has many photos, it may take a while.
- Open the exported PowerPoint from Finder.
- Check that the clinic logo appears if you have already configured it in
Cataloging.
Modify the Included Template
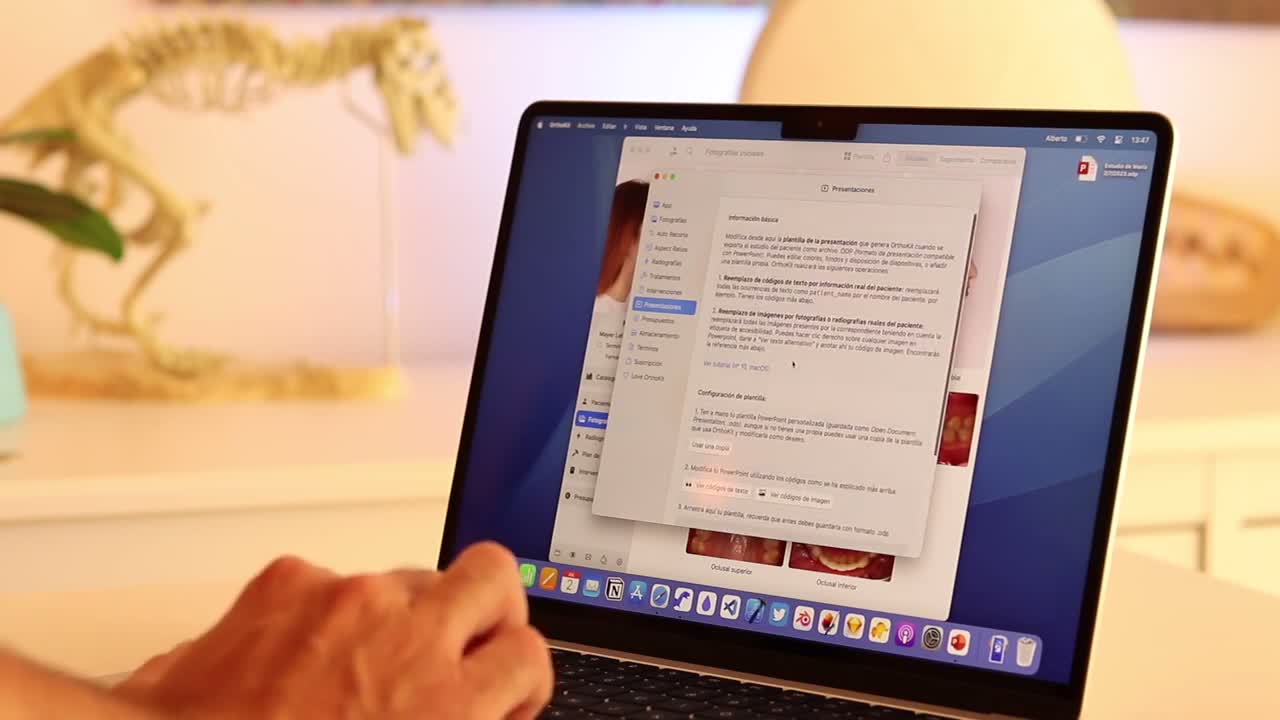
- Open
OrthoKit > Settings > PowerPoint. - Save a copy of the template used by OrthoKit.
- Open that template in PowerPoint and place it next to an already exported PowerPoint to understand what OrthoKit replaces.
- Edit colors, text, fonts, backgrounds and image positions according to the clinic’s style.
- Use the text codes from OrthoKit settings so the template automatically fills data such as title, patient name, age, identifier or date.
- To change section colors, use
View > Slide Masterin PowerPoint. - When finished, return to
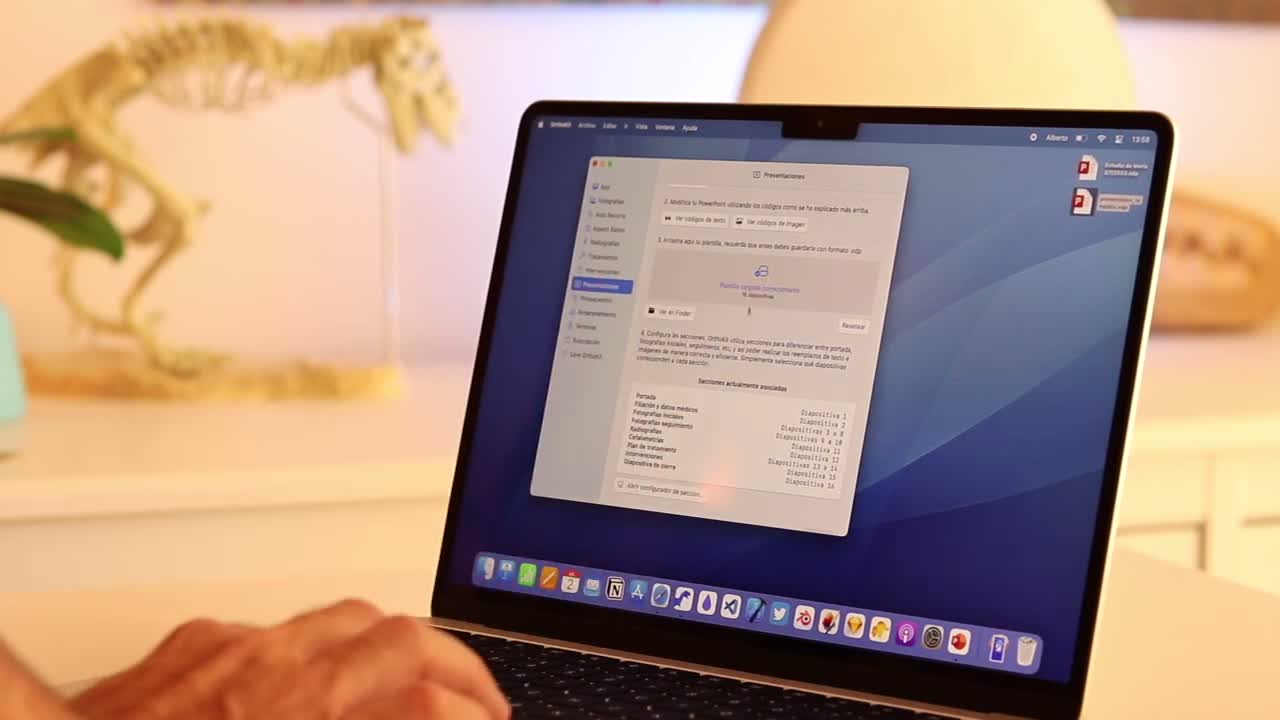
Settings > PowerPointand drag the modified template into OrthoKit. - Export the study again to confirm that OrthoKit respects the new layout.
- If you want to keep editing the same template, open it from
Open in Finder, modify the file and save. You do not need to drag it again.
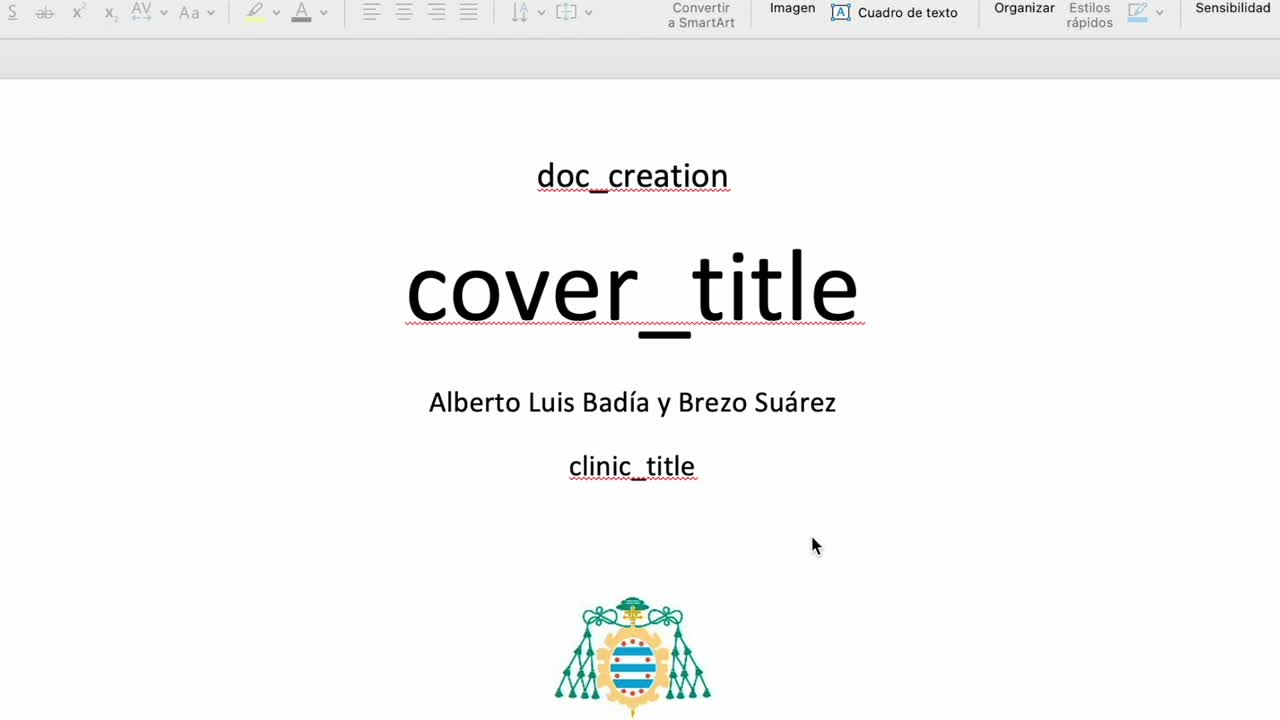
Create Your Own Template
- Start from a presentation you already use for consultations, teaching or patient communication.
- If it comes from Keynote, export it as PowerPoint.
- Replace fixed text with OrthoKit text codes.
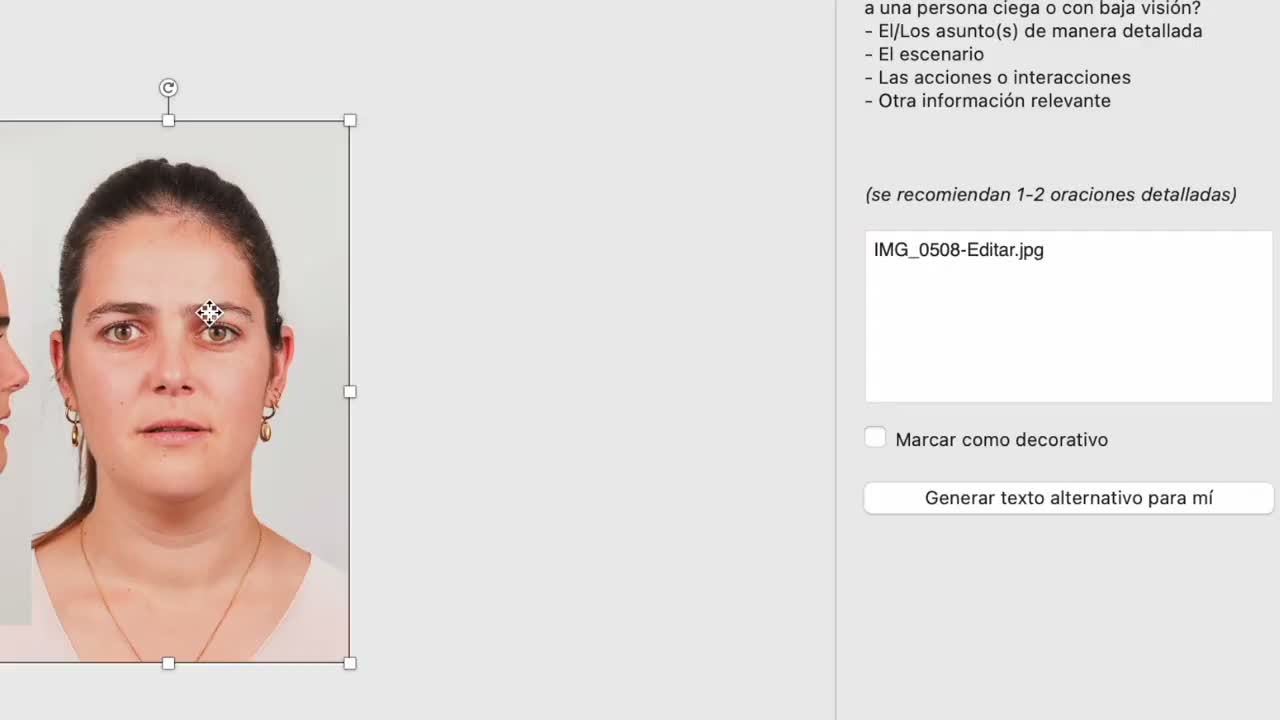
- For images OrthoKit should replace, open the image’s alt text in PowerPoint.
- In the alt text, write the corresponding image code, for example
clinic/logofor the clinic logo. - Use the codes for extraoral photos, intraoral photos, radiographs, cephalometrics, treatment plan and interventions according to the section.
- In follow-up, bear in mind that OrthoKit will duplicate the slides in that section for each follow-up row in the patient.
- In radiographs, use the radiograph image code and, if needed, the annotation code to show notes.
- In cephalometrics, you can include the radiograph with tracing, the analysis values or both.
- In interventions, decide how many interventions you want to show per slide.
- Add a final slide if you want to include contact details, thanks or a closing section.
- Save the template as OpenDocument Presentation
.odp; OrthoKit needs that format to recognize it as a custom template. - Drag the
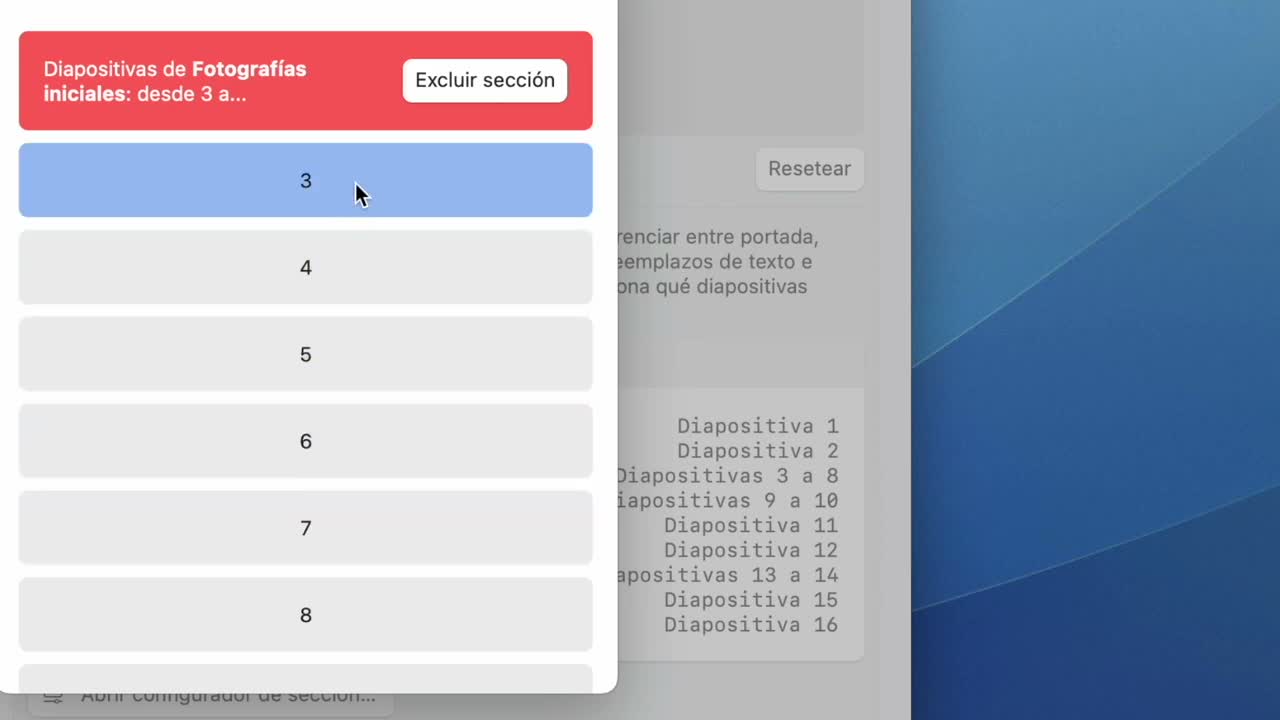
.odptoSettings > PowerPoint. - Open the section configurator and assign which slides correspond to cover, patient details, initial records, follow-up, radiographs, cephalometrics, treatment plan, interventions and closing.
- Export a test study and check that every text and image is replaced correctly.
Recommendations
- The default template is usually enough for most users.
- Custom templates only need to be configured once; after that, OrthoKit fills them for any patient.
- If PowerPoint fails when saving as
.odp, create a new blank PowerPoint, copy all the template slides and save again from that clean file. - Always review a test export before using the template with patients or in teaching.