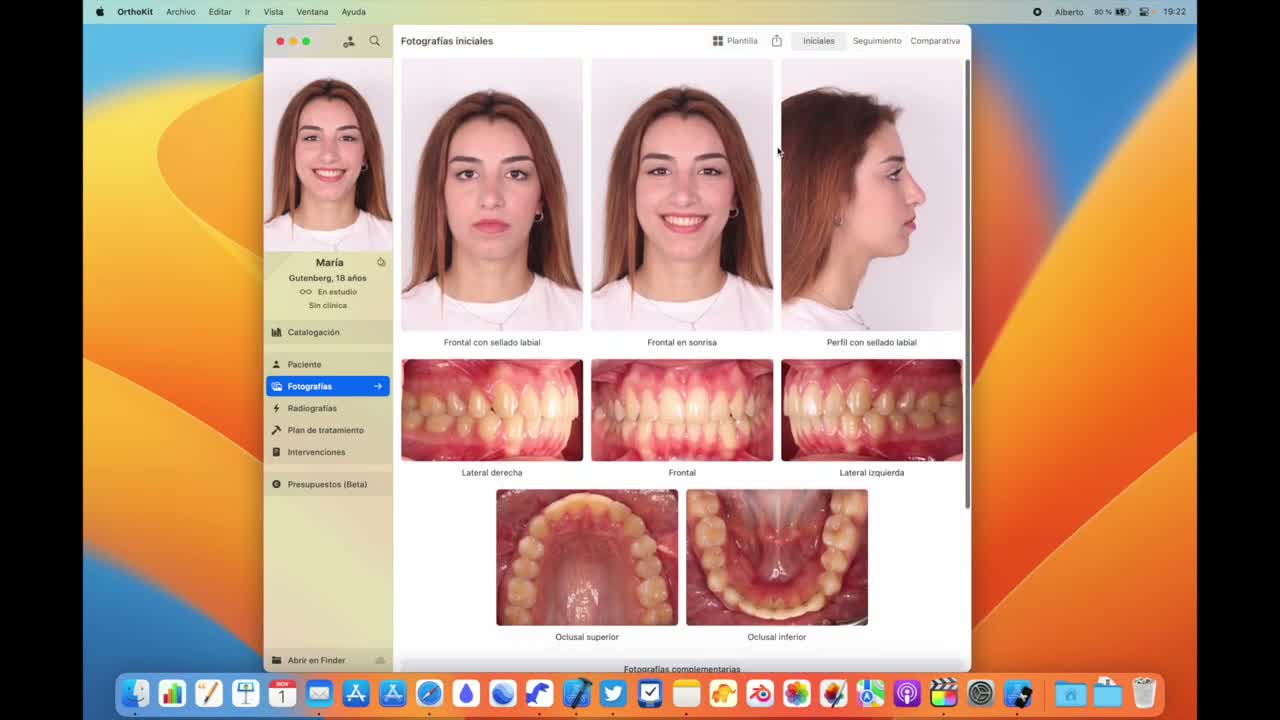
OrthoKit includes several photo templates, but not every team documents in the same way. You can add complementary photos, switch to a wider template or create your own composition so the record adapts to your protocol.
Before You Start
- Have a patient with the initial photo template already filled.
- Prepare extra photos if you want to test complementary views.
- Decide whether you need a wider template or your own composition.
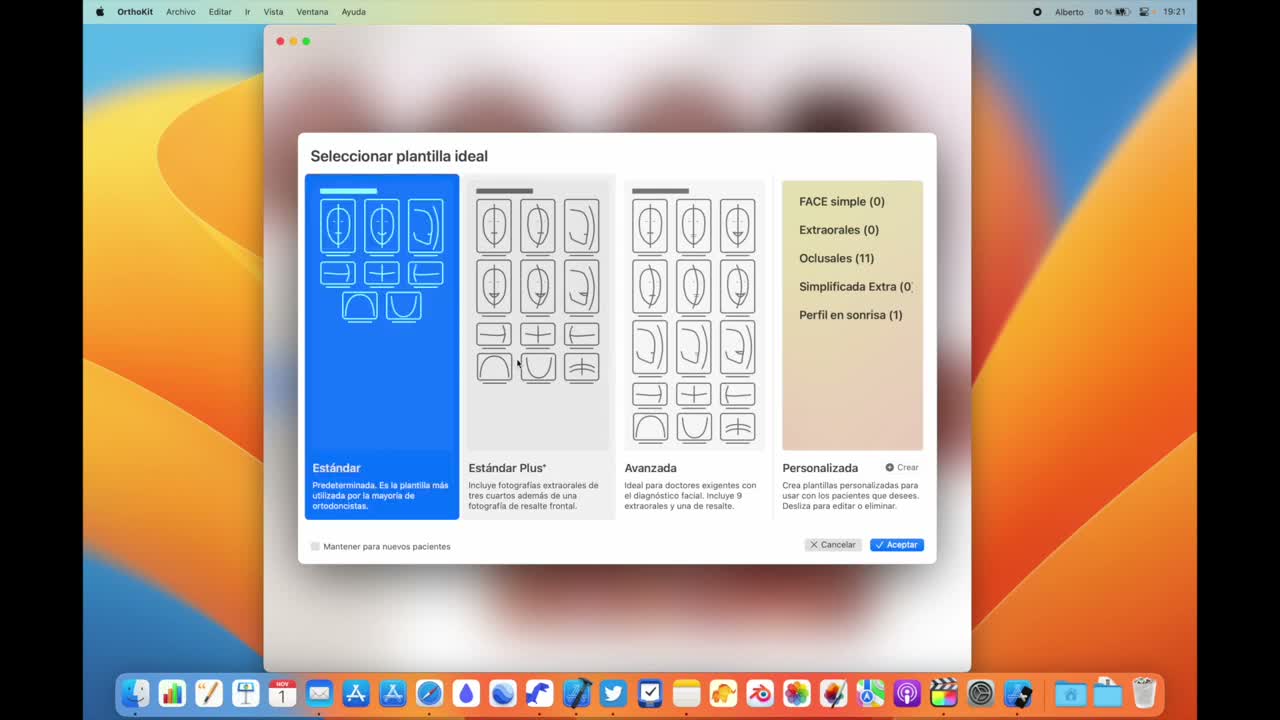
Use Existing Templates
- Open the patient and go to
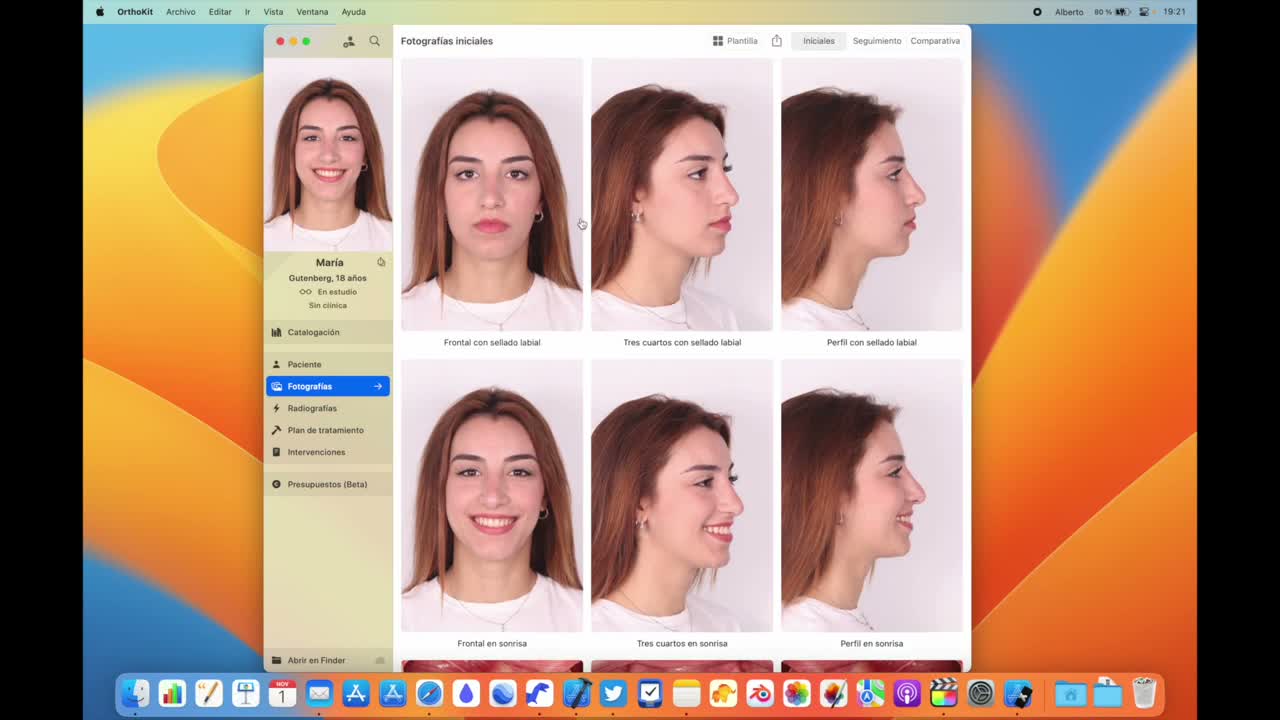
Photos. - Locate the standard initial template: three extraoral photos and five intraoral photos.
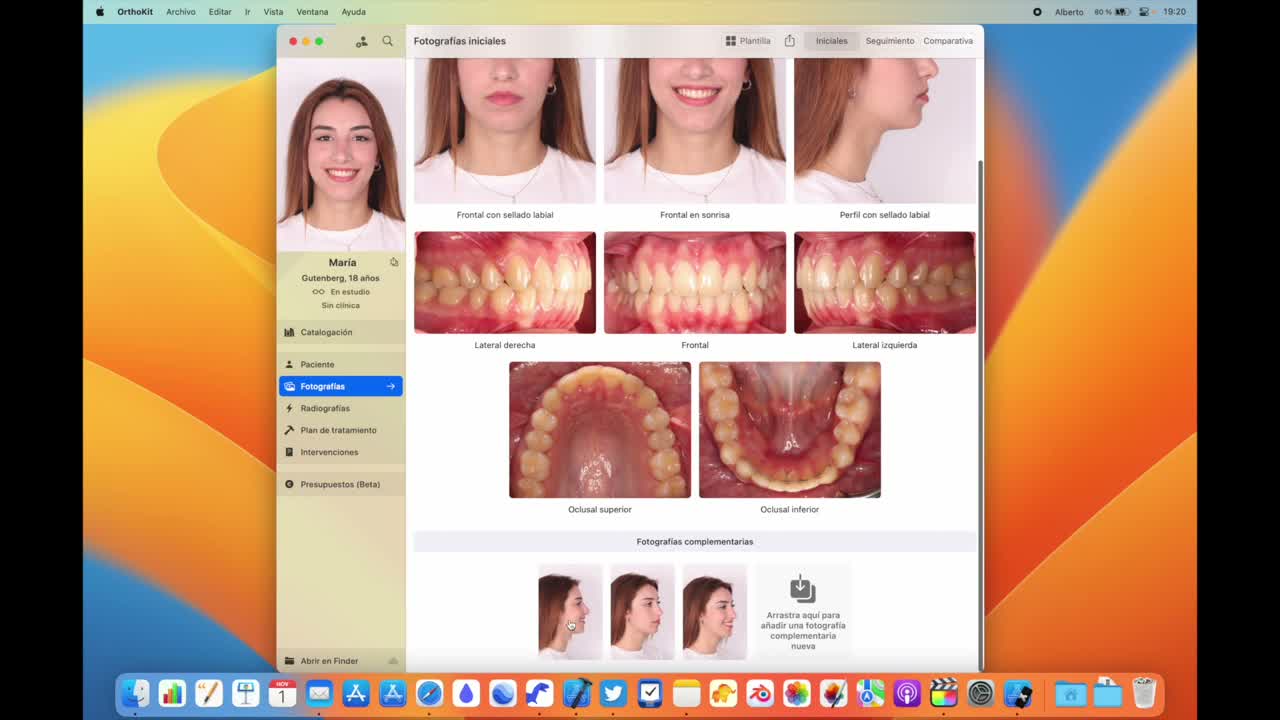
- If you want to add an extra photo, drag it to the complementary photos area.
- Choose the correct photo type when OrthoKit asks.
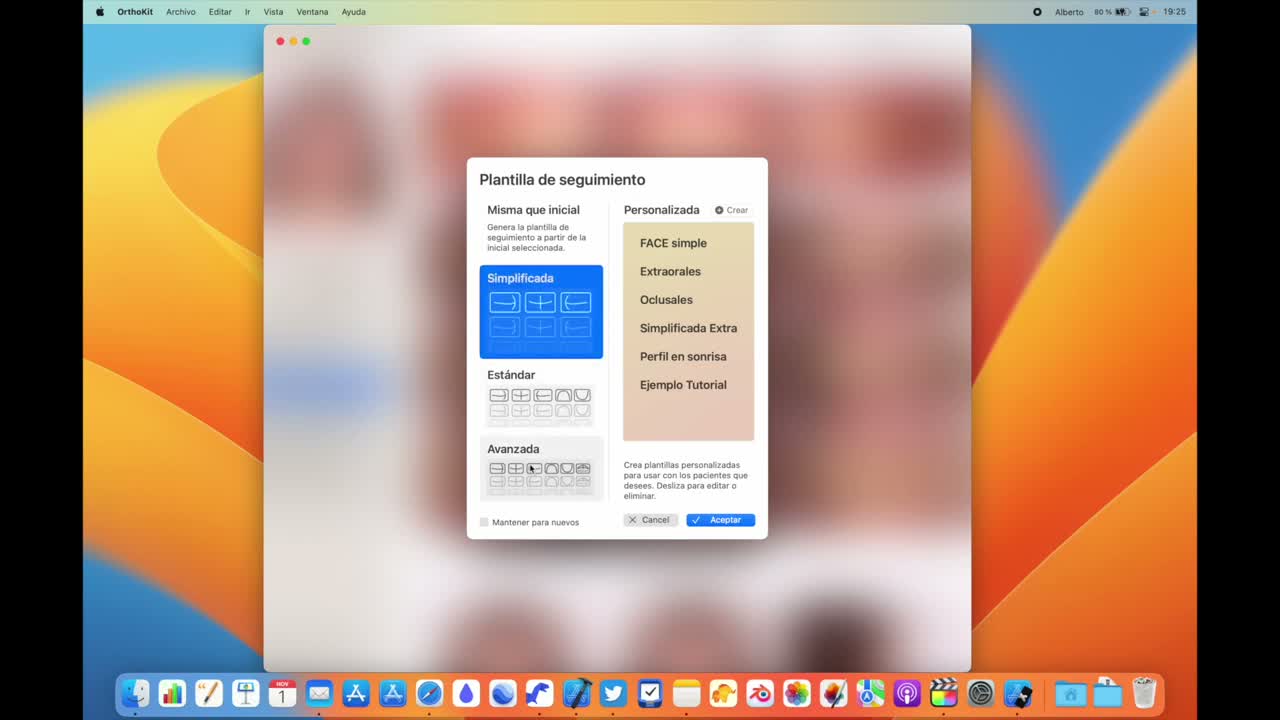
- Open the template selector.
- Try
Standard Plusif you want to include three-thirds photos. - Try
Advancedif you need rest, sealed lips, smile, three-quarter, profile and overjet views. - Check that complementary photos move into the main template when their type matches.
- Return to a simpler template if you do not need so many views; extra photos are not deleted.
Create Your Own Template
- If no template fits, open
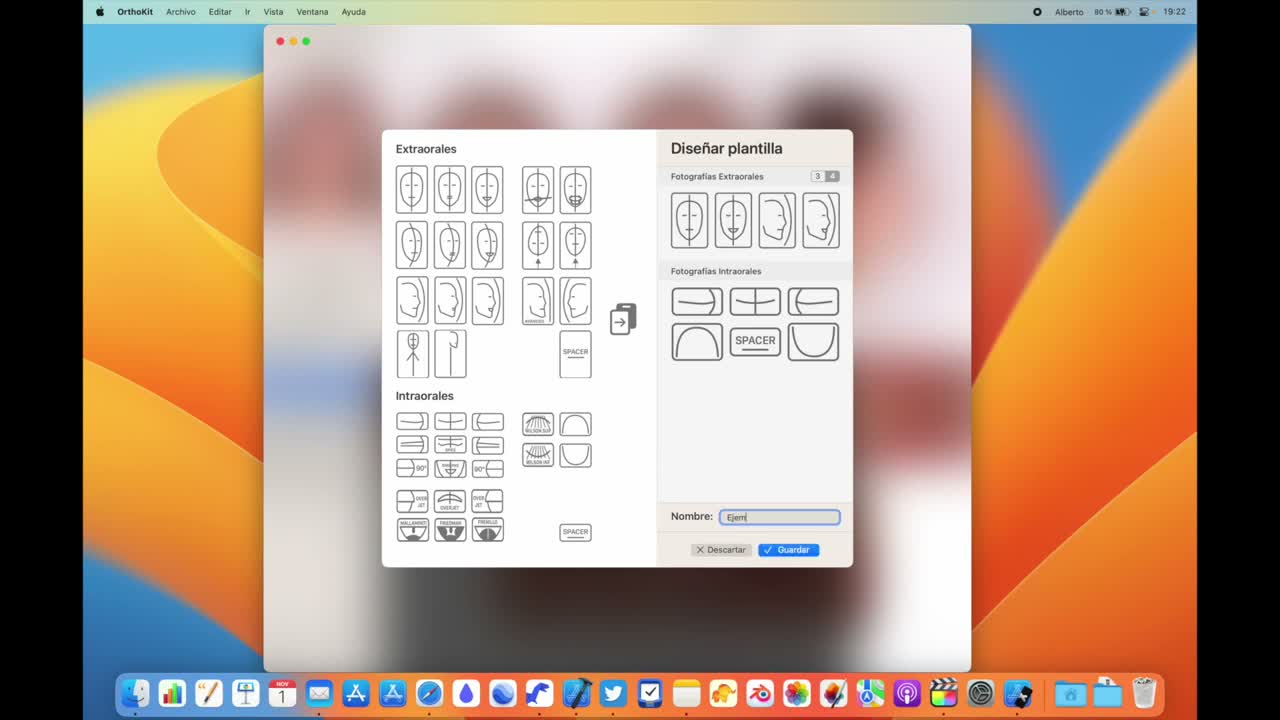
Createfrom the template selector. - Drag the photo types you want to include into the composition.
- Choose two, three or four columns.
- Add spacers if you want to reserve empty gaps.
- Write a recognizable title for the template.
- Save and apply the new template with a double click.
- In follow-up, use simple templates so photos do not become too small.
Recommendations
- Keeping few variants makes it easier for the whole team to document consistently.
- Use clear names:
Initial,Follow-up,Final,Comparison. - Select the type of each complementary photo carefully: that determines whether OrthoKit can relocate it automatically.
- In follow-up, avoid overly dense templates if they make it hard to review progress.