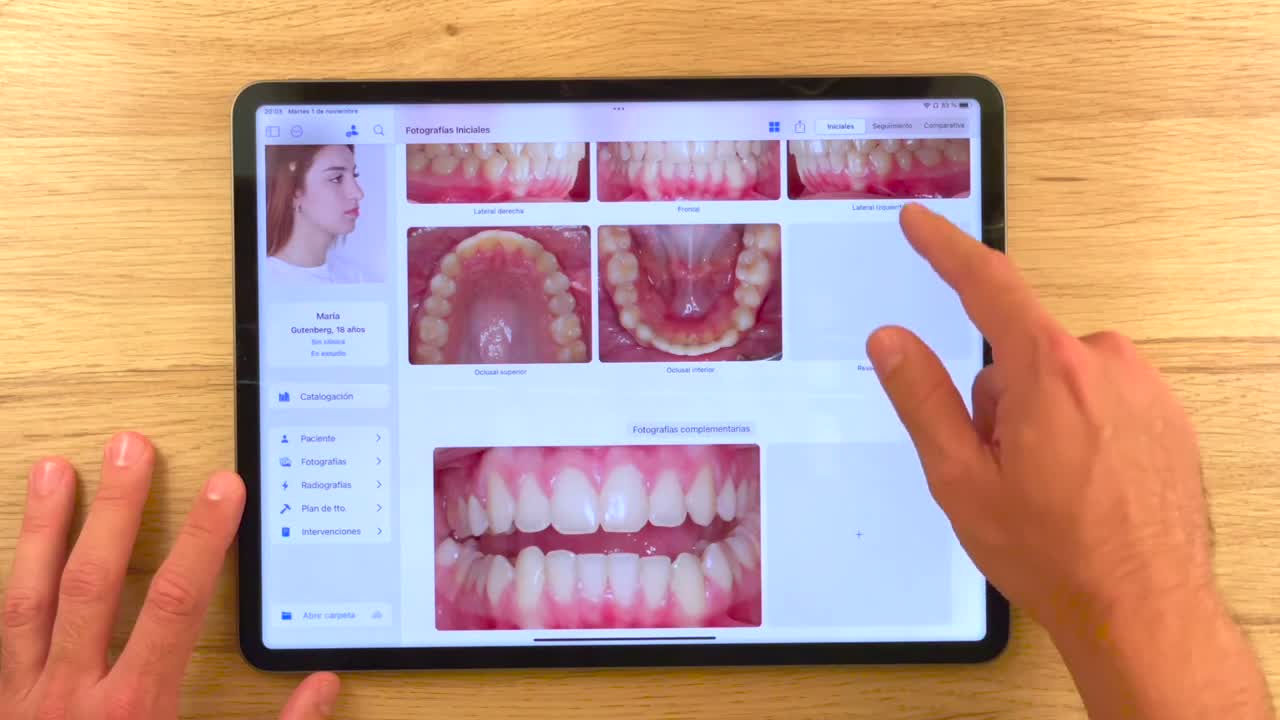
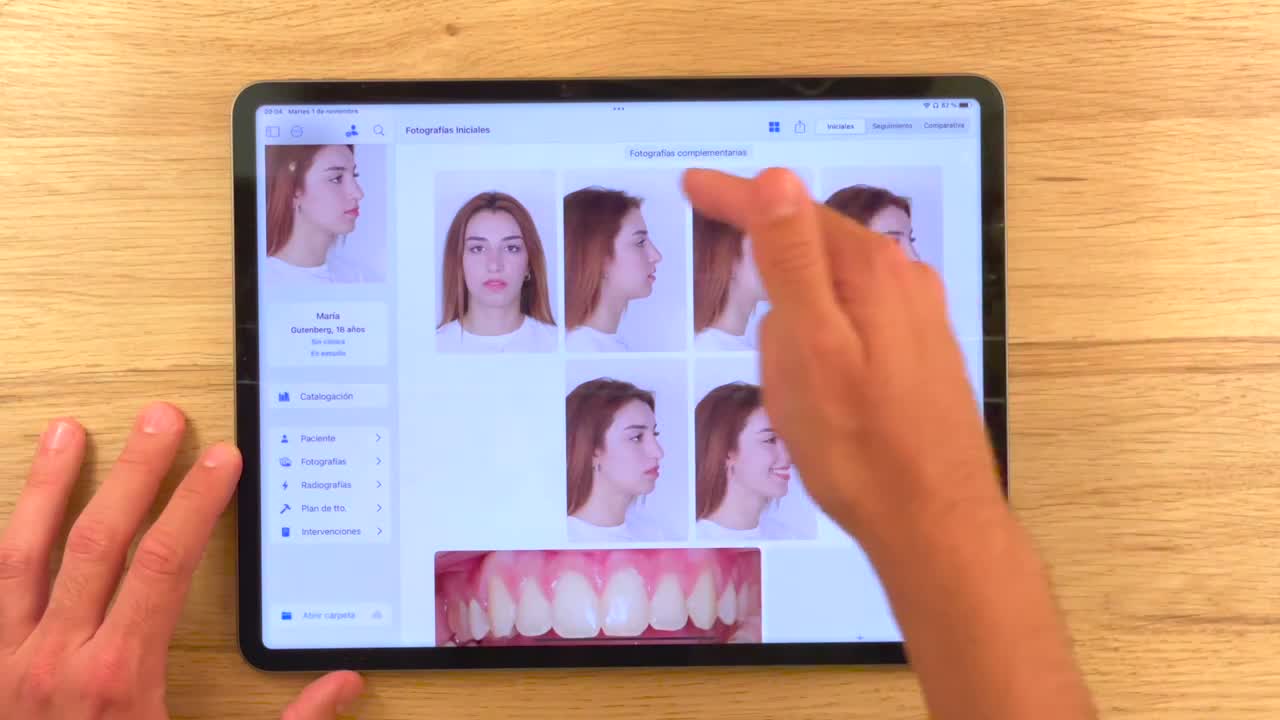
On iPadOS, you can also adapt the photo template to the way you document. The app keeps photos even when you change templates: if a view does not fit in the active template, it remains as complementary or hidden during follow-up.
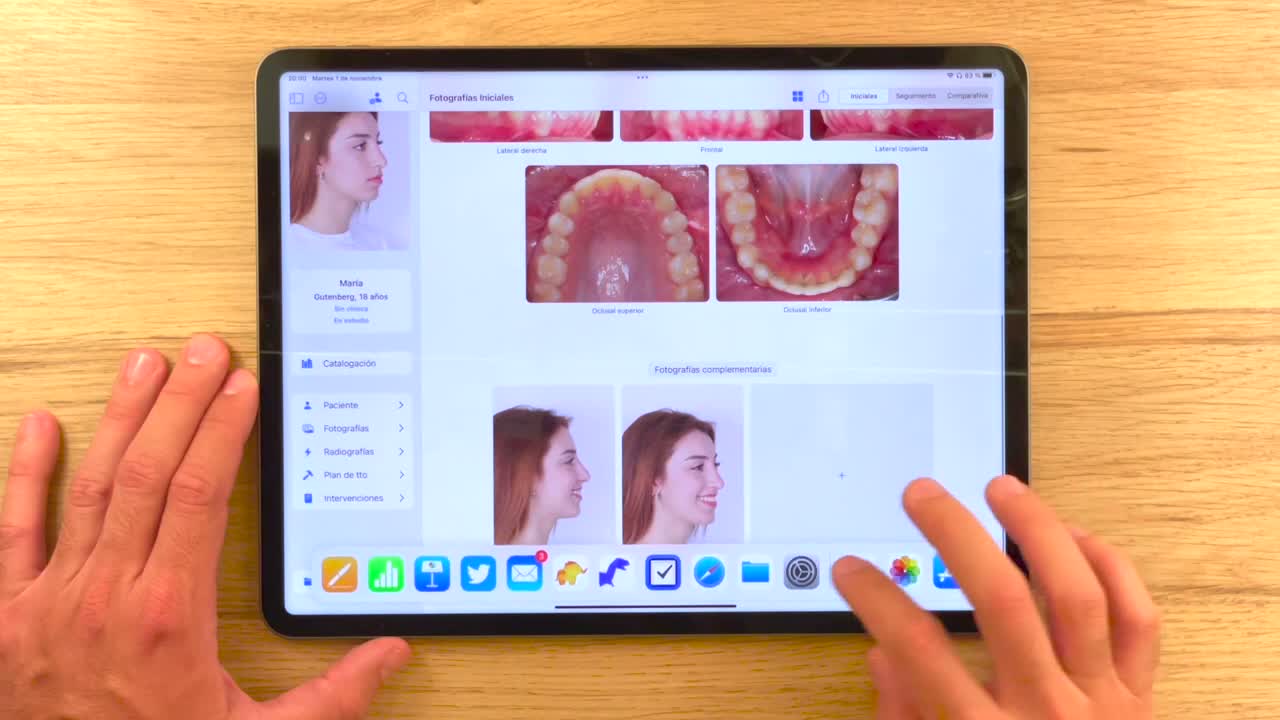
Before You Start
- Have the patient’s initial photos imported.
- Decide whether you want to use a preconfigured template or create your own.
- Check that each photo has the correct type assigned.
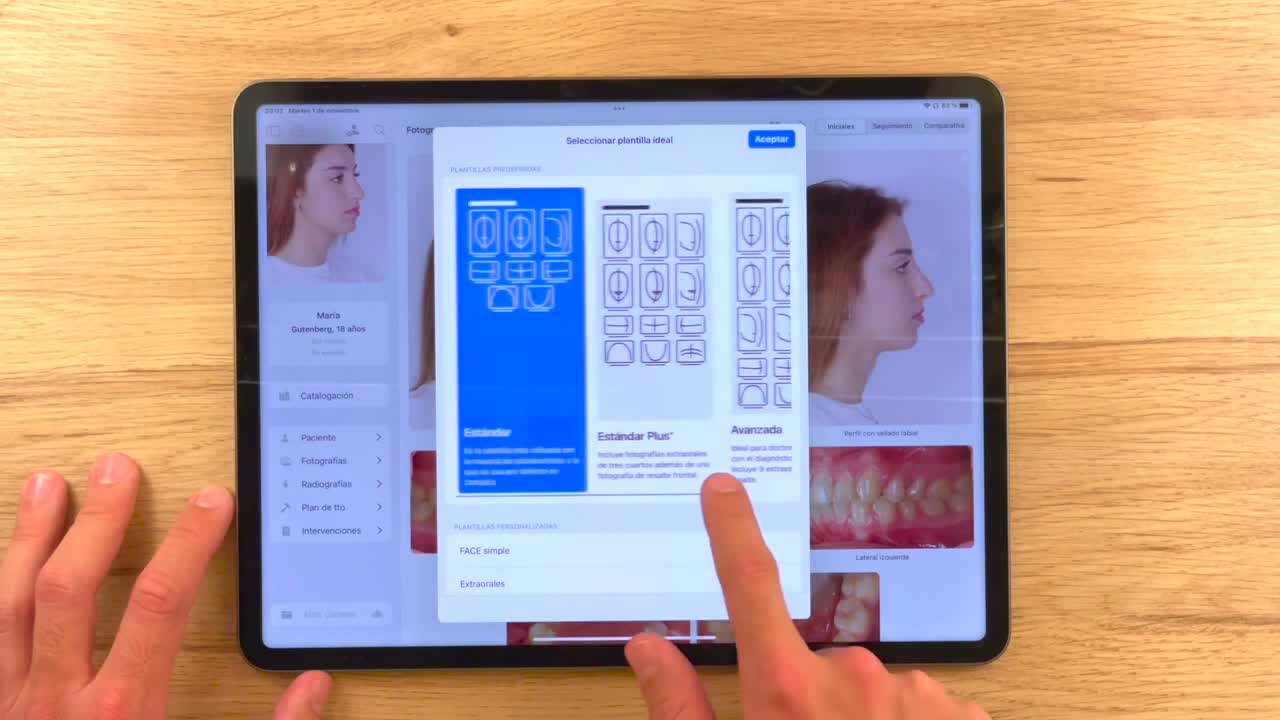
Change Template
- Open the patient and go to the photos section.
- Review the standard template: three extraoral photos and five intraoral photos.
- If you need more views, add them first as complementary photos.
- Assign the type of each complementary photo correctly so OrthoKit can relocate it later.
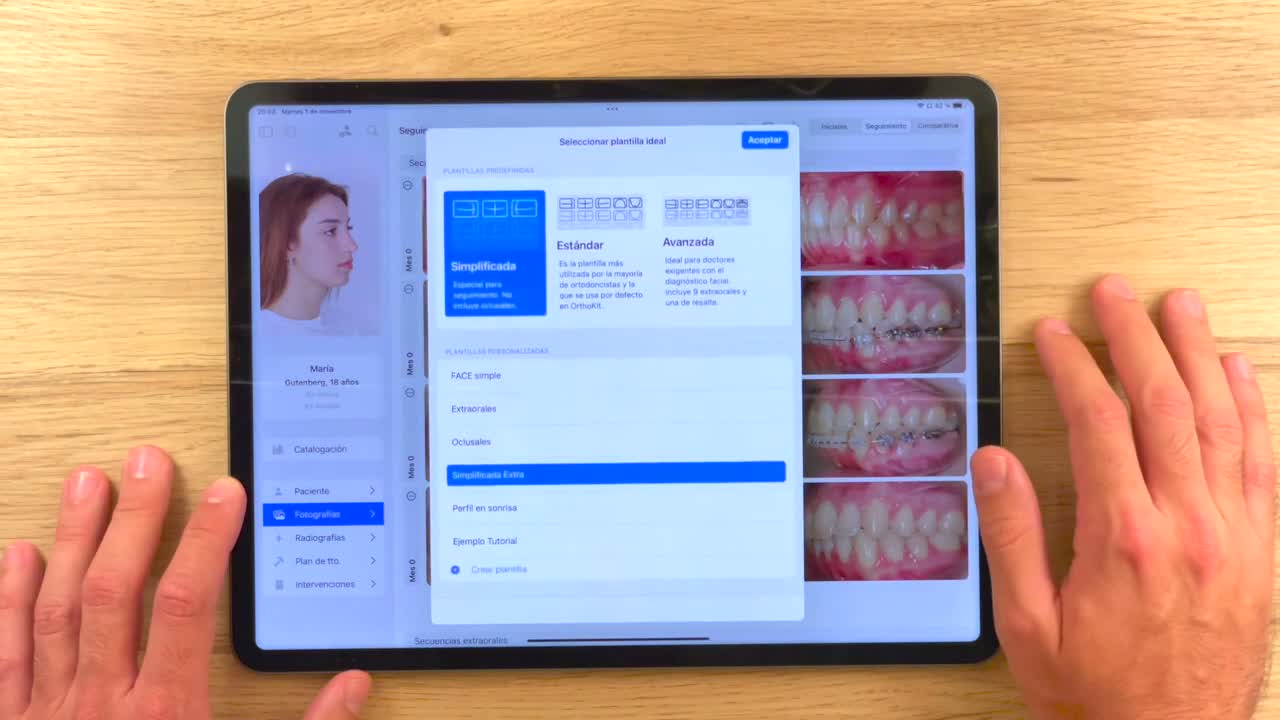
- Open the template selector.
- Try a preconfigured template, such as
Standard PlusorAdvanced. - Check that complementary photos move into the main template when the type matches.
Create a Template
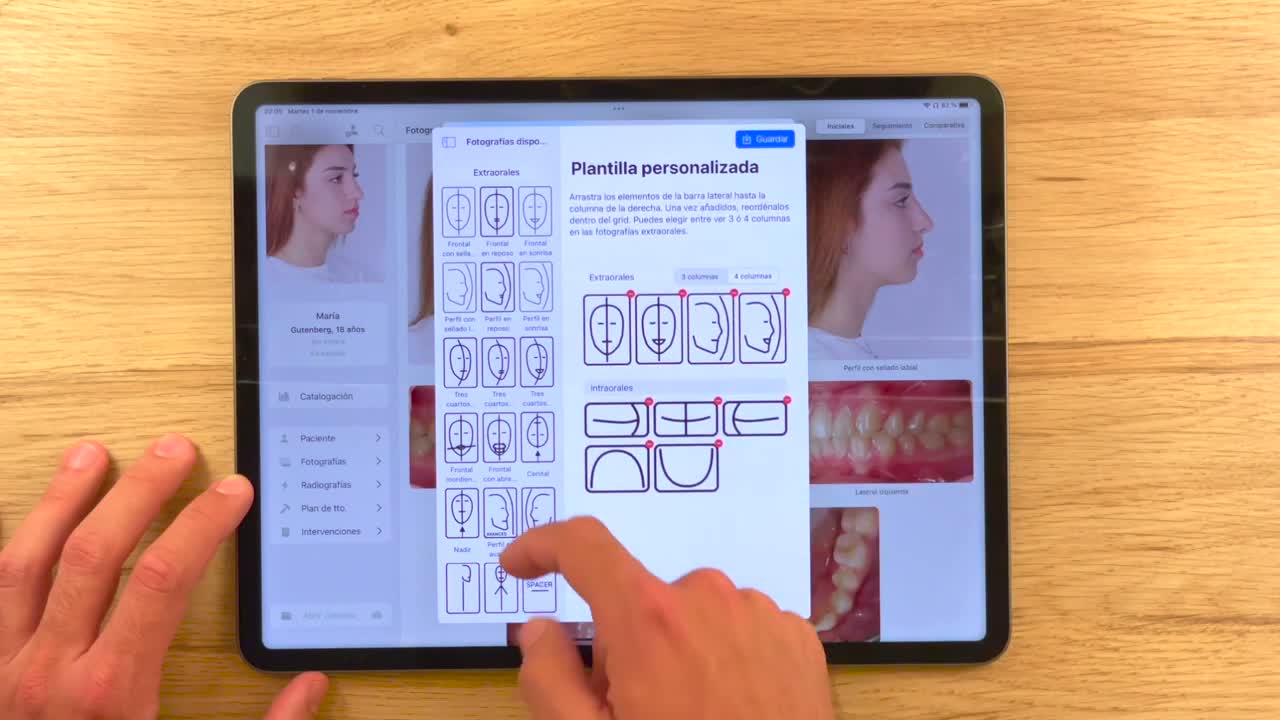
- If no template fits your workflow, create a custom template.
- Drag the photo types you need to the composition area.
- Choose the number of columns and add spacers if you want to leave blank gaps.
- Give the template a recognizable title.
- Save the template and apply it with a double tap.
- In follow-up, use simple templates to prevent photos from becoming too small.