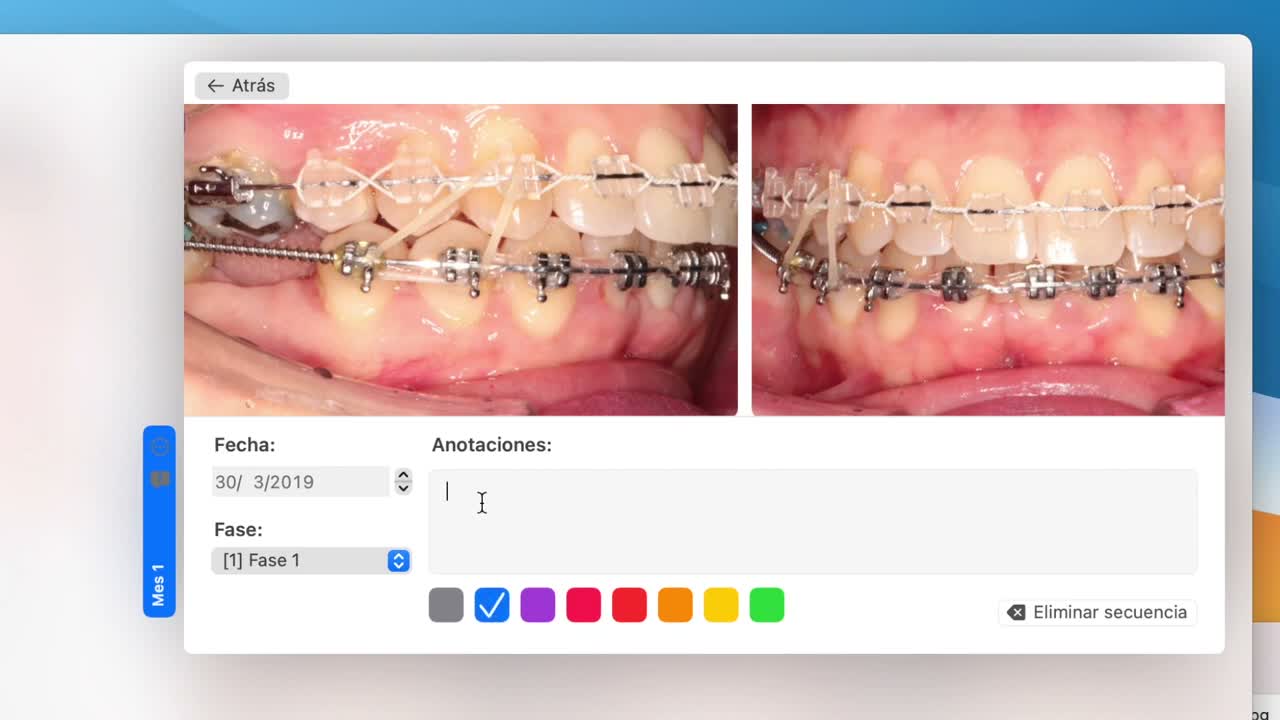
When the patient already has their initial photos, the next step is to record follow-up visits and compare progress between dates. OrthoKit organizes those sequences by month, lets you add annotations and offers a comparison view to review changes directly.
Before You Start
- The patient must already have initial photos imported.
- Prepare follow-up photos by visit date.
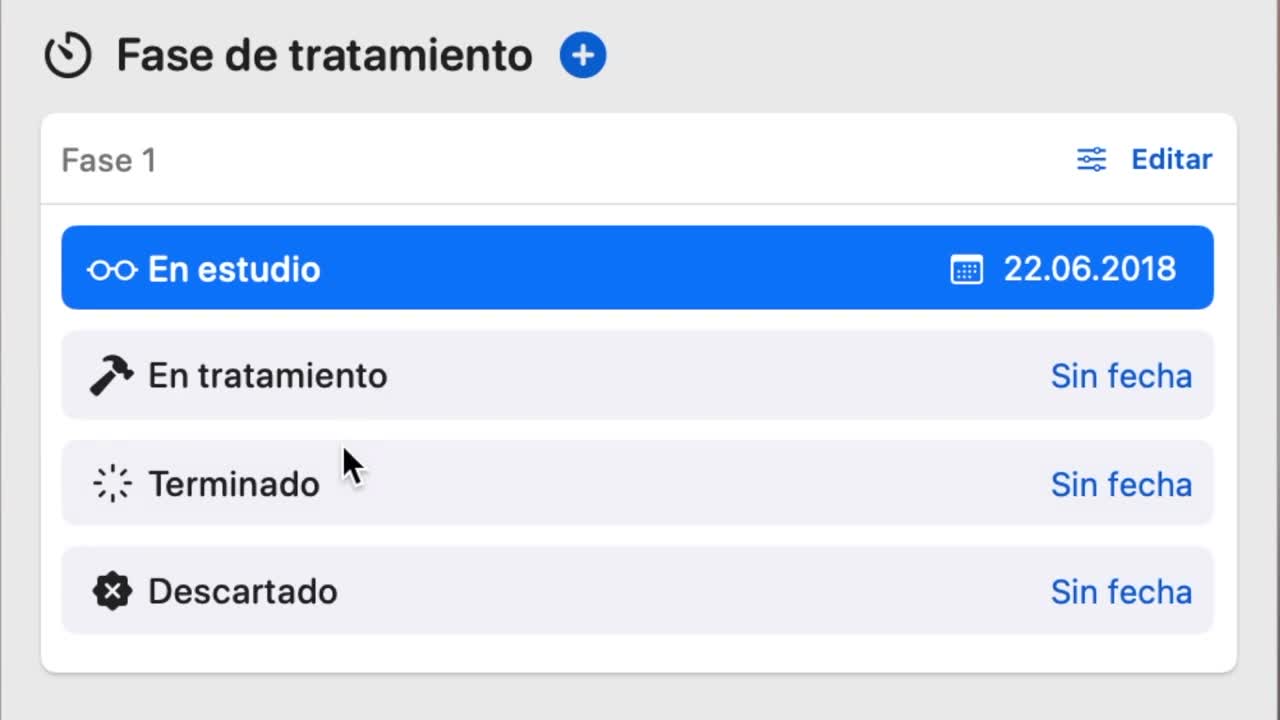
- Review the patient’s status in
Catalogingbefore adding new sequences.
Prepare Follow-Up
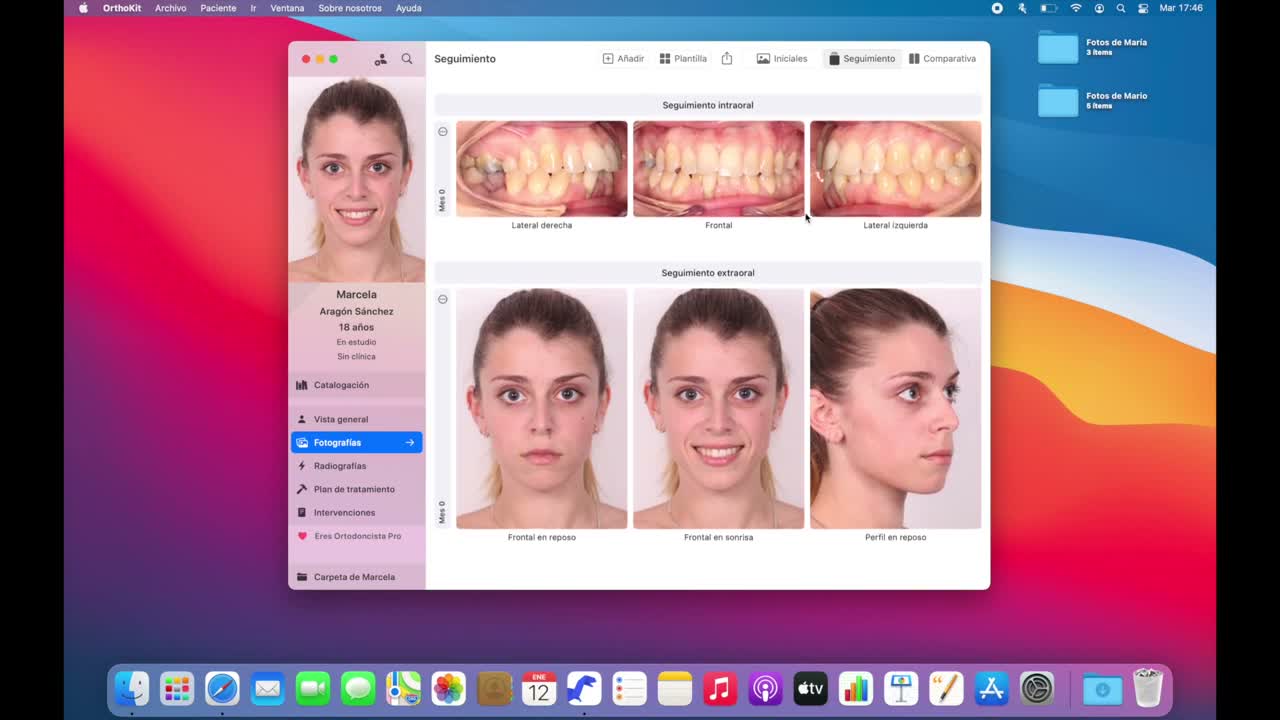
- Open the patient and go to
Photos. - Switch to the
Follow-Uptab. - Before adding the new series, go to
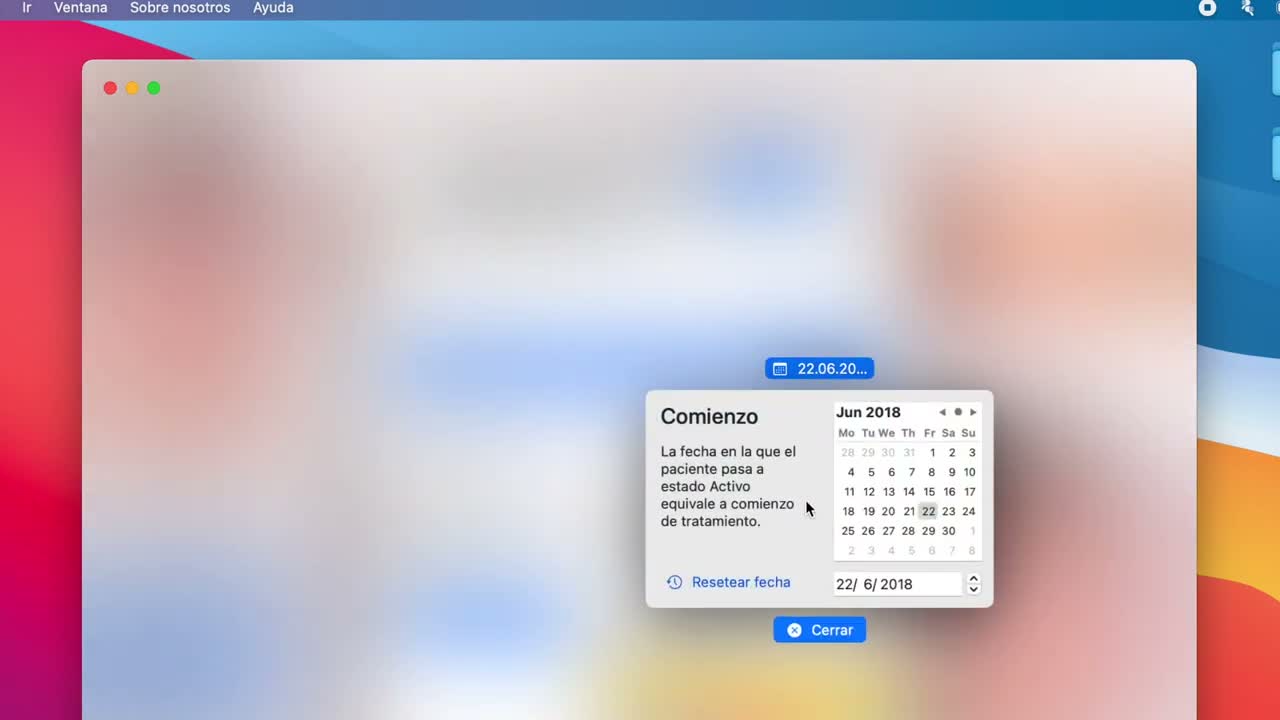
Catalogingand change the status toIn Treatmentif appropriate. - Check the treatment start date; OrthoKit can take it from the first photo, but you can change it manually.
- Return to
Follow-Up.
Add a Sequence
- Click
Add Sequenceto create a new row of photos. - Drag the photos from that visit to the new row.
- Review the month indicator from the start of treatment.
- If you need to annotate something from that visit, click the month indicator and add a note or highlight color.
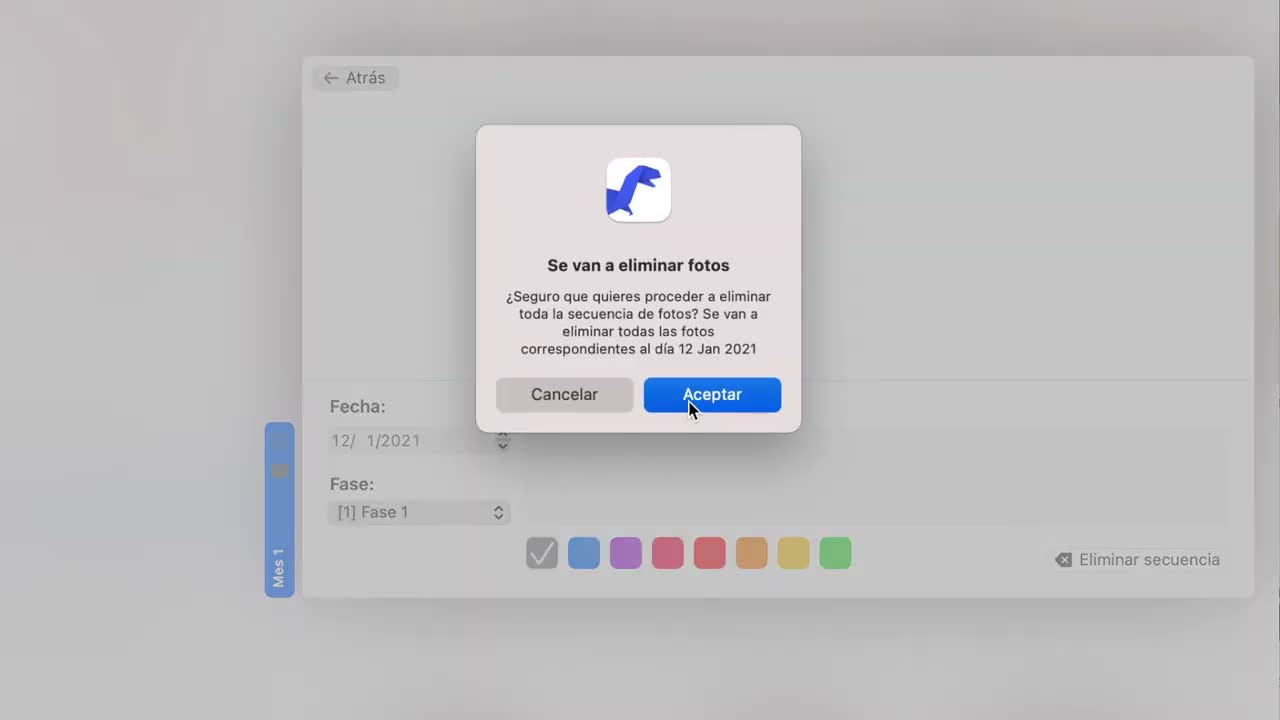
- If you want to delete a full sequence, use the row control and select
Delete Sequence.
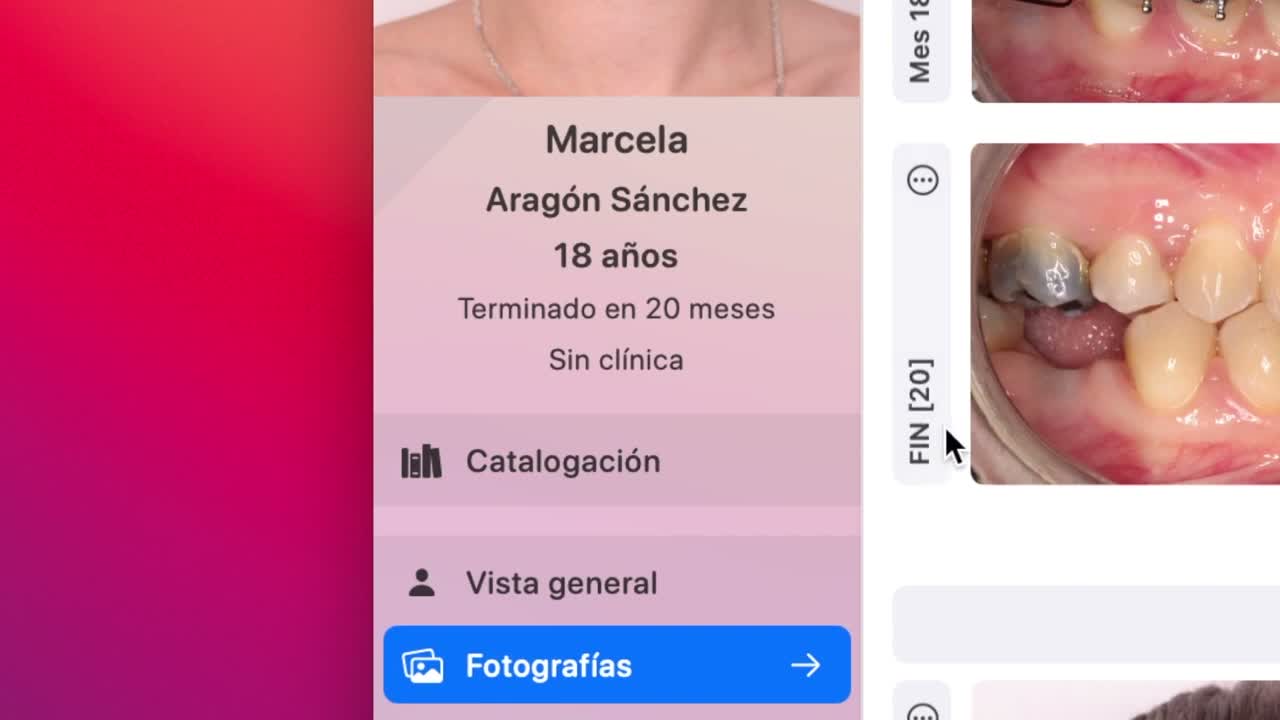
When treatment ends, return to Cataloging and change the status to Finished. OrthoKit will calculate the treatment duration using the date of the last photo.
Compare Dates
Go to Comparison and use the top selectors in each column to choose which months or dates you want to compare.
Usage Tips
- Always use equivalent views so the comparison makes sense.
- Avoid mixing photos with different scale, angle or lighting if you are documenting progress.
- Change the patient’s status before relying on month calculations.
- Use annotations to leave context for a specific visit.