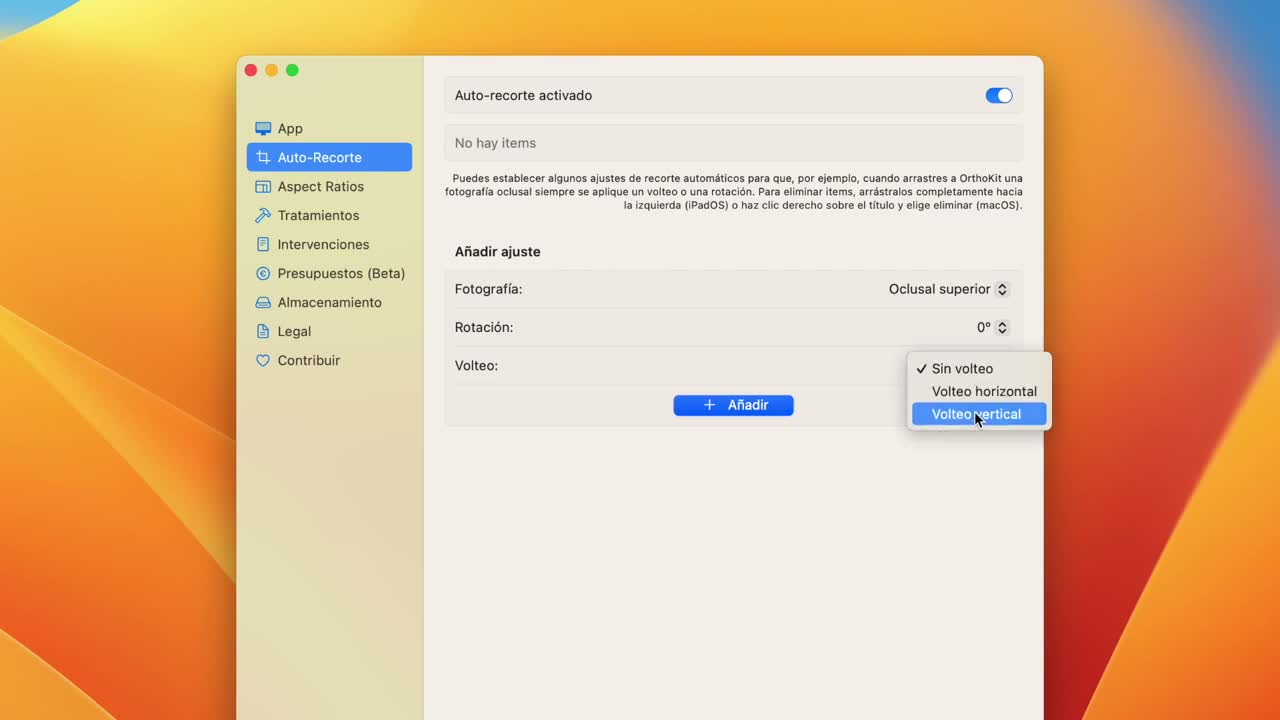
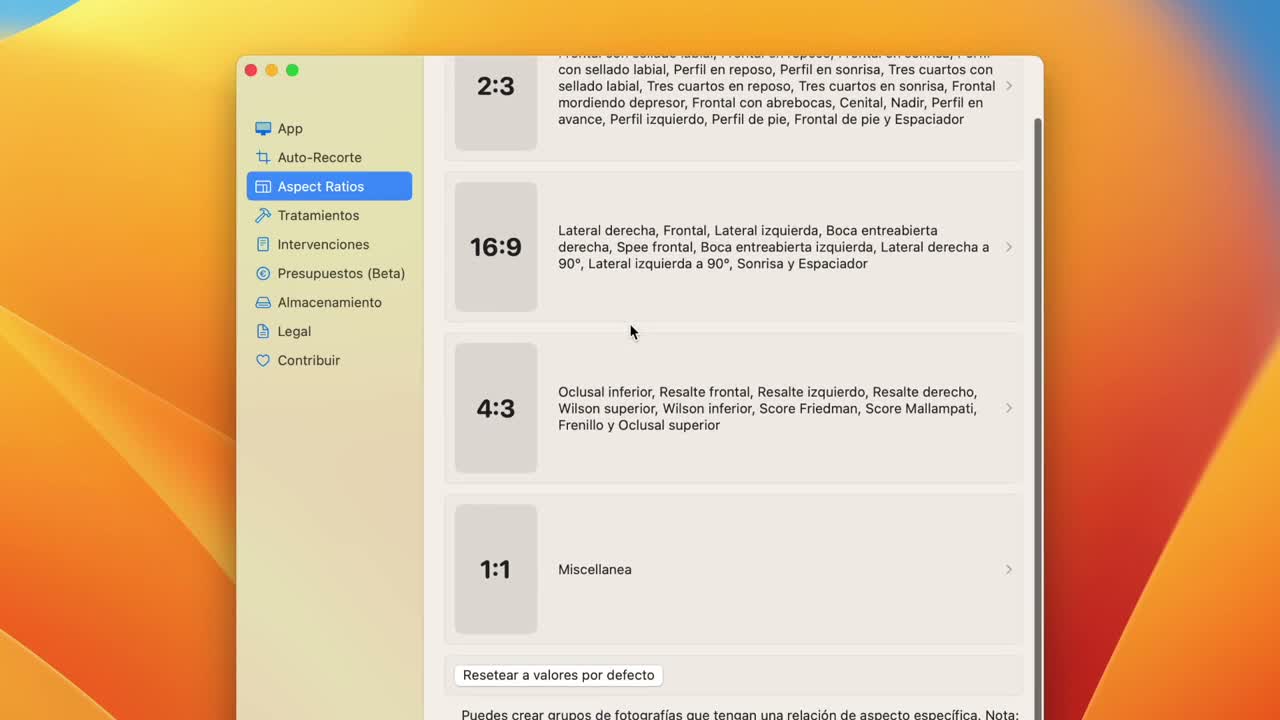
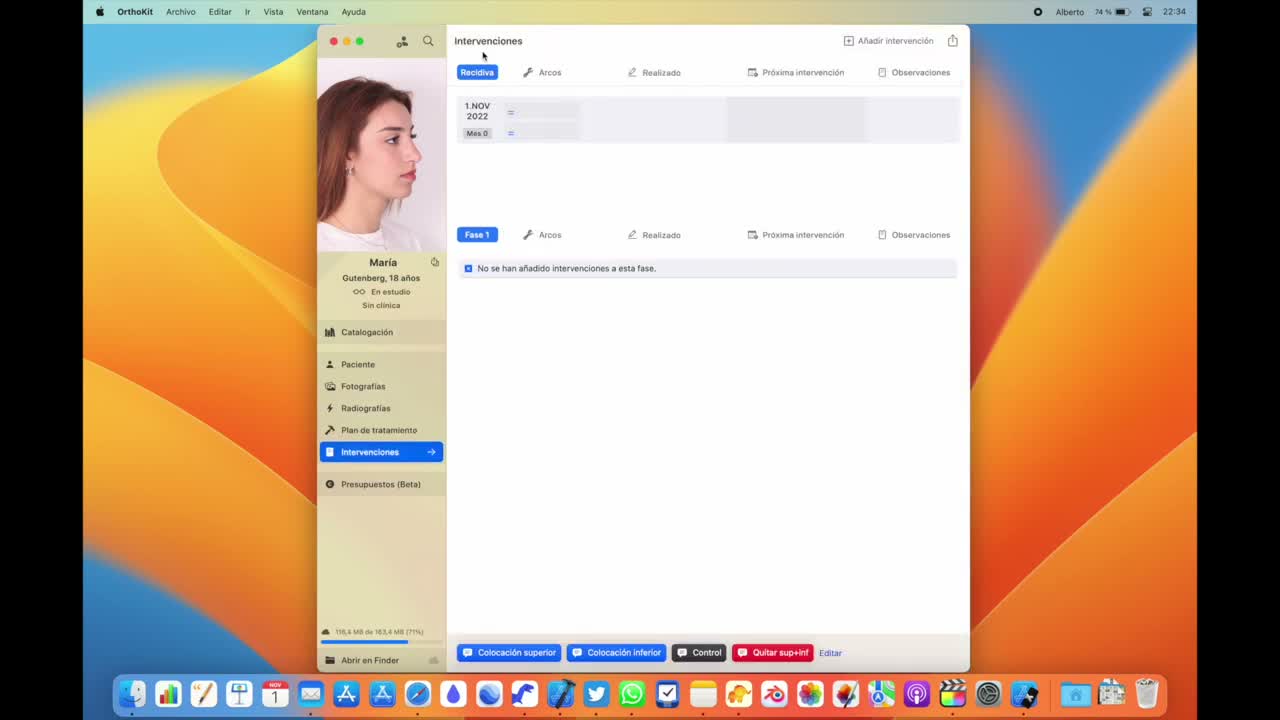
Phases are used to separate studies for the same patient when there is a new start, a retreatment or a clearly distinct clinical record. Auto-cropping, meanwhile, automates repeated corrections such as rotations, flips or crop proportions.
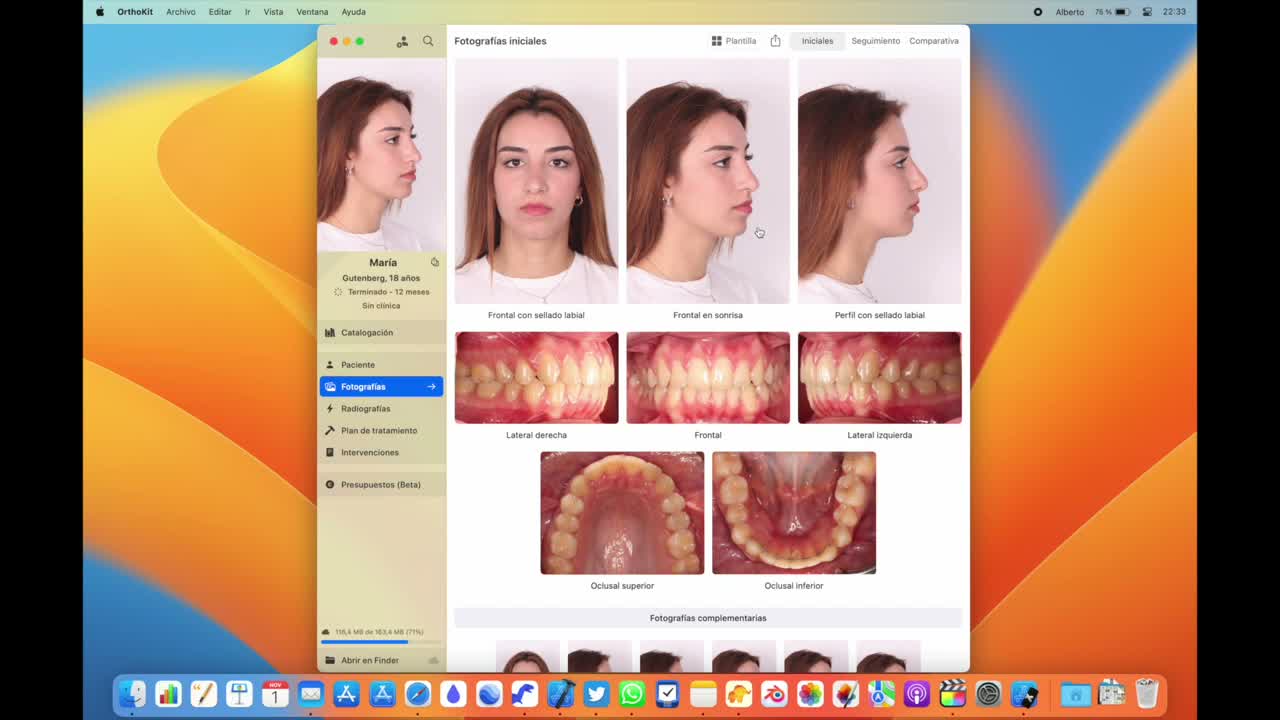
Before You Start
- Have a patient with previous photo records.
- Use phases when a patient needs a new study separated in time.
- Decide which photo types you want to rotate, flip or crop automatically.
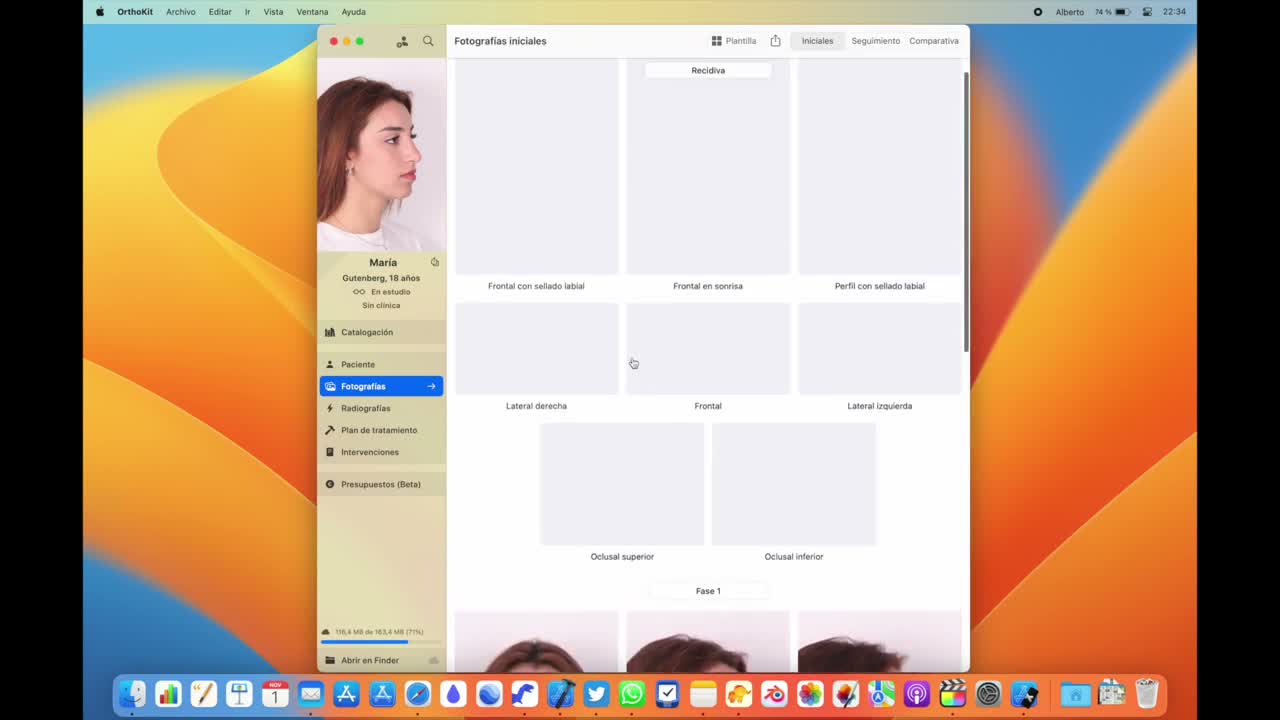
Create a Phase
- Open the patient.
- Go to
Cataloging. - Review the current treatment phase.
- Click
Addto create a new phase if the patient starts a new study or retreatment. - Return to
Initial Photosand check that a second initial record appears for that new phase. - Drag the new study photos to that grid.
- In follow-up, continue adding photos normally; phases help separate studies, plans and interventions.
Configure Auto-Cropping
- Open
OrthoKit > Settings. - Go to the
Auto-Croppingtab and enable the option. - Add a rule indicating the type of photo it will apply to.
- Choose the rotation or flip you want to automate.
- Save the setting.
- Repeat the process for every photo type you want to automate.
- If you make a mistake, delete a rule by right-clicking its name.
- Also adjust the default proportions if your protocol uses different ratios.
Best Practices
- Do not accept an automatic crop without reviewing it.
- Keep original photos if the app allows you to retain them.
- Use phases only when there is a true new study, not for every isolated visit.
- Keep the default ratios unless your photo workflow has a clear reason to change them.