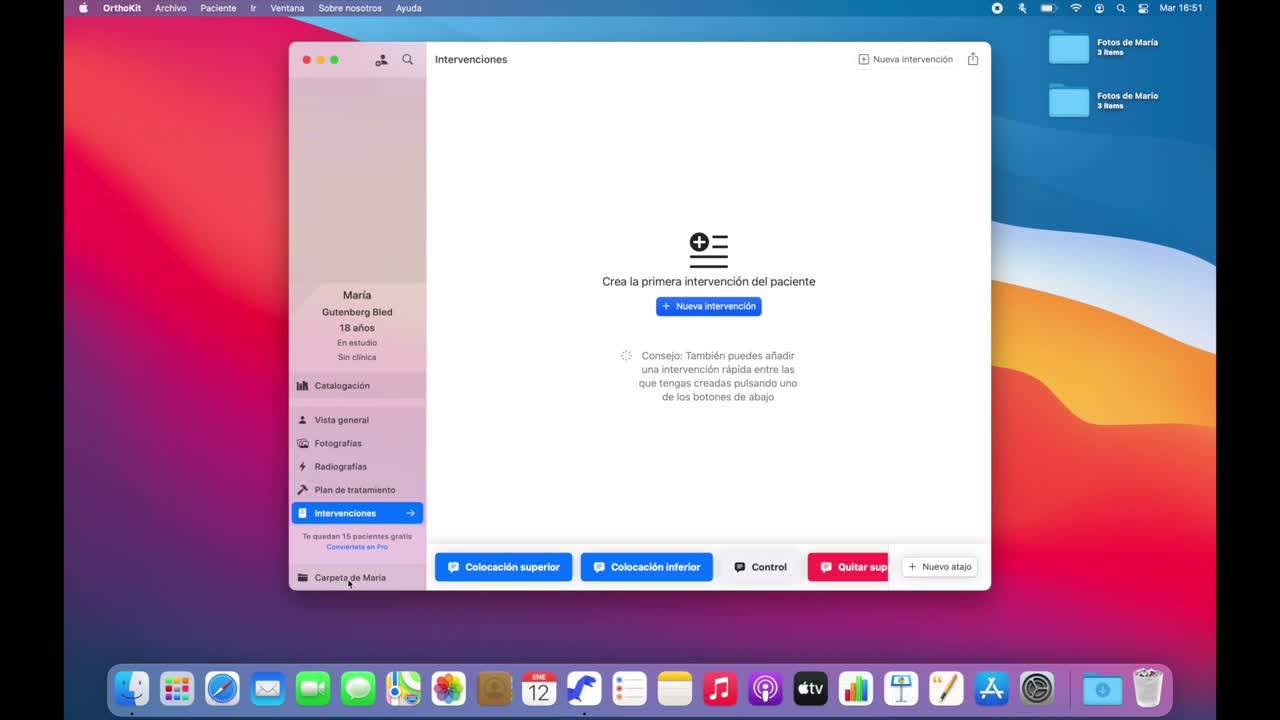
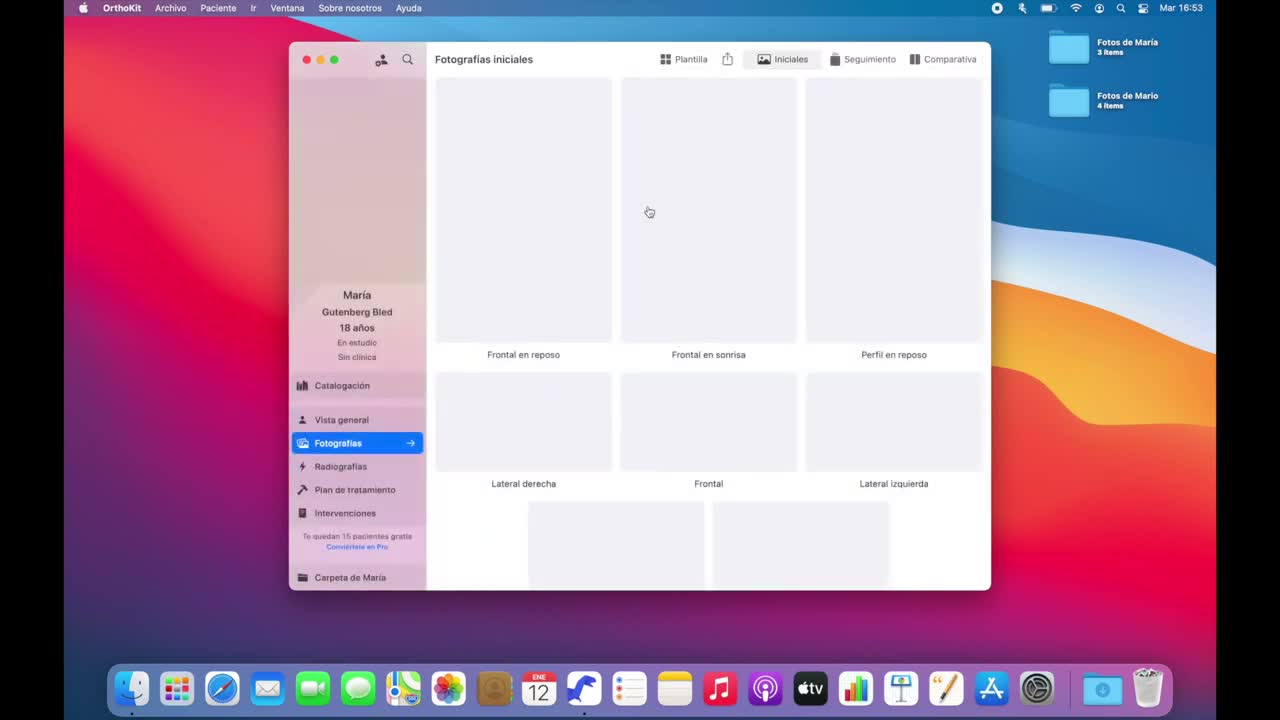
The first launch of OrthoKit prepares the app, lets you decide where patient files will be stored and creates the first record. In a few minutes you will know where to find the main screen, the patient list and the basic work sections.
Before You Start
You need a Mac with access to the App Store and enough space to work with clinical records. The app is small, but patient photos and radiographs can require several gigabytes with use.
Installation
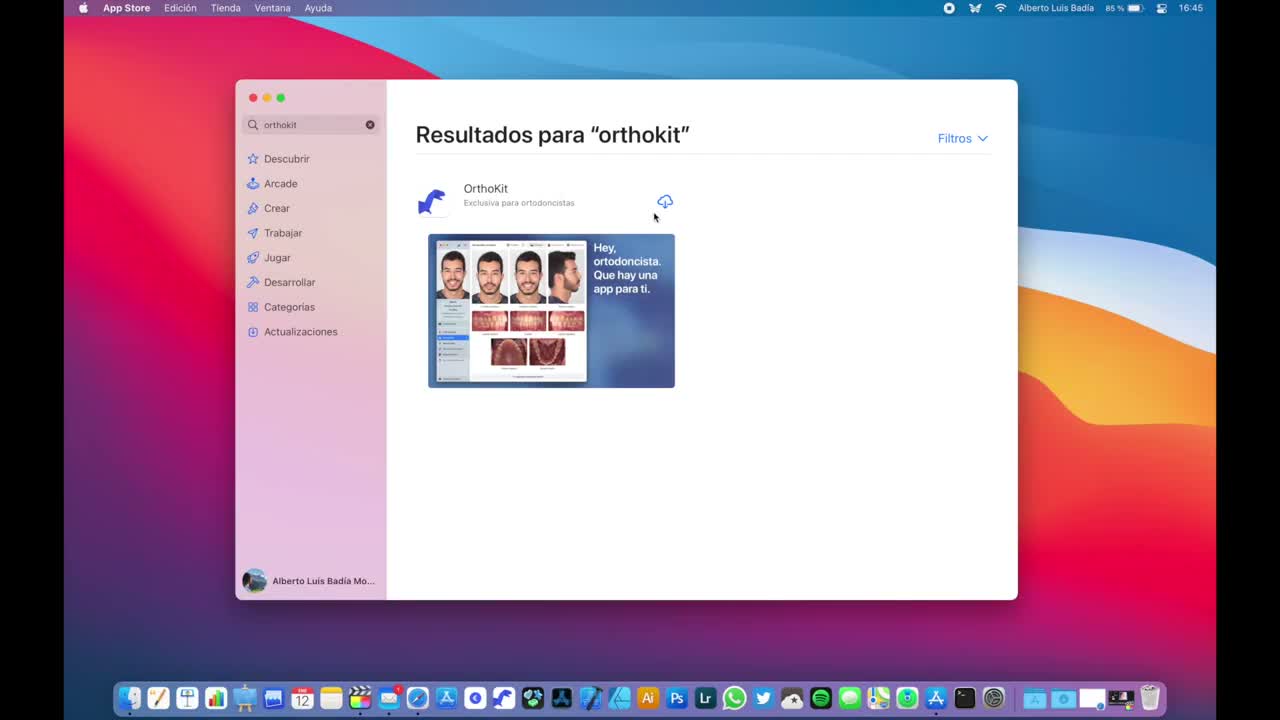
- Open the App Store on the Mac.
- Search for
OrthoKitand install the app. - Open OrthoKit for the first time.
- Read and accept the end-user license agreement if you agree.
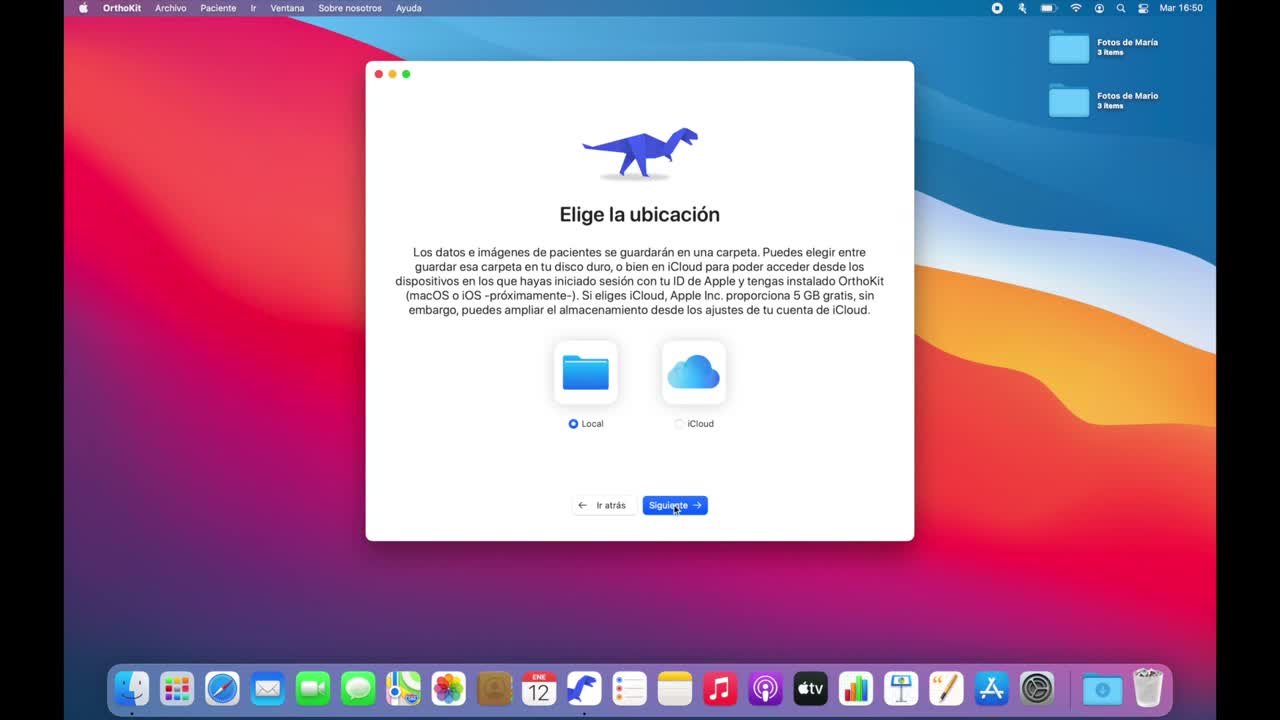
- Choose where you want to save patient files:
- Local storage: data stays only on the Mac disk.
- iCloud: data syncs with other devices that use the same Apple account.
- If you are going to combine OrthoKit on Mac with OrthoKit on iPad, enable iCloud to share data between devices.
First Patient
- Create the first patient by entering first and last name.
- Click
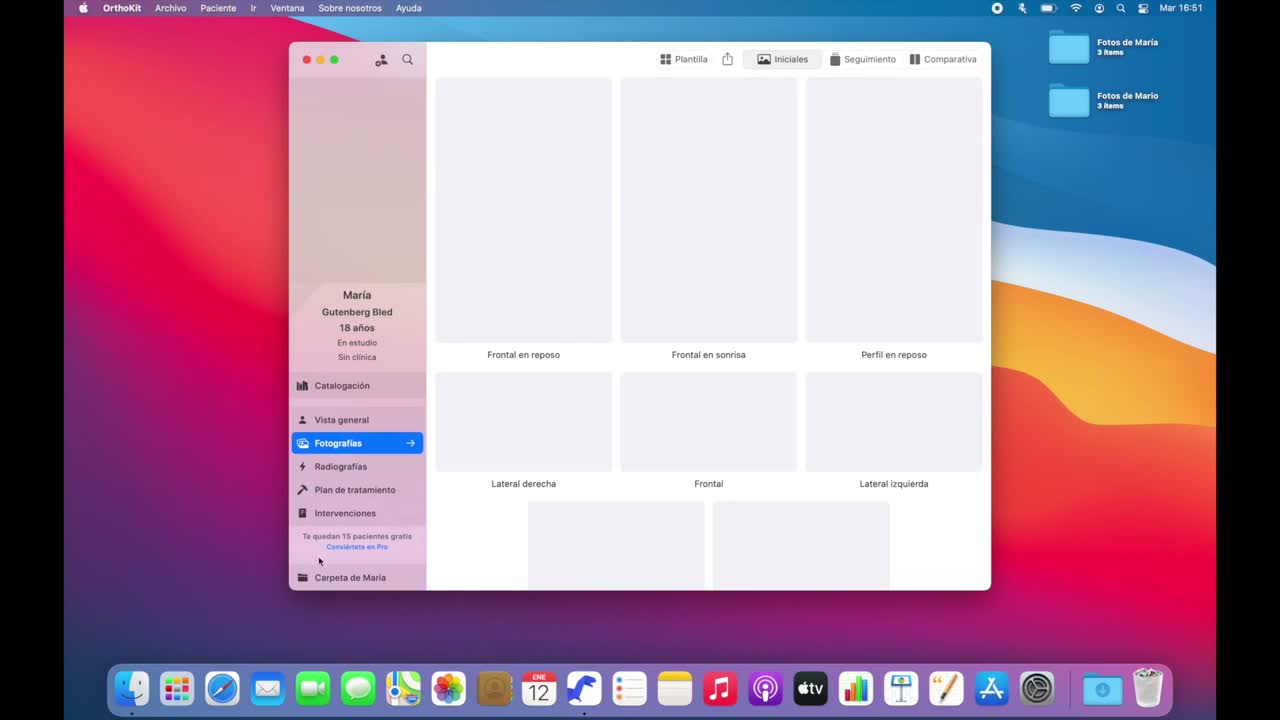
Createto automatically open their record. - Review the sidebar. From there you can switch between overview, photos, radiographs, treatment plan and interventions.
- Go to
Catalogingif you want to assign tags, warnings, colors or other organizational data. - Click the magnifying glass button, or use
Command + S, to open the patient list. - Double-click a patient to open them.
- Use the new-patient button, or
Command + N, to create another record when needed.
Common Issues
| Issue | What to do |
|---|---|
| I do not know whether to use iCloud | Use iCloud if you want to work with the same file from Mac and iPad. You can change this setting later. |
| I do not see the patient list | Click the magnifying glass or use Command + S. |
| I want to create another patient | Use the new-patient button or Command + N. |
| I cannot find a section | Review the sidebar of the active patient. |