The initial setup of OrthoKit on iPad is very similar to Mac, with one important difference: the sidebar can be hidden and shown depending on whether you are working in portrait or landscape. Here you will install the app, create the first patient and learn how to move through the main sections.
Before You Start
- Have the iPad updated.
- Sign in with the corresponding Apple ID.
- Use an internet connection to download OrthoKit from the App Store.
- Reserve space for photos and radiographs; the app is small, but clinical records grow with use.
Installation
- Open the App Store on the iPad.
- Search for
OrthoKitand install the app. - Open OrthoKit for the first time.
- Read and accept the end-user license agreement if you agree.
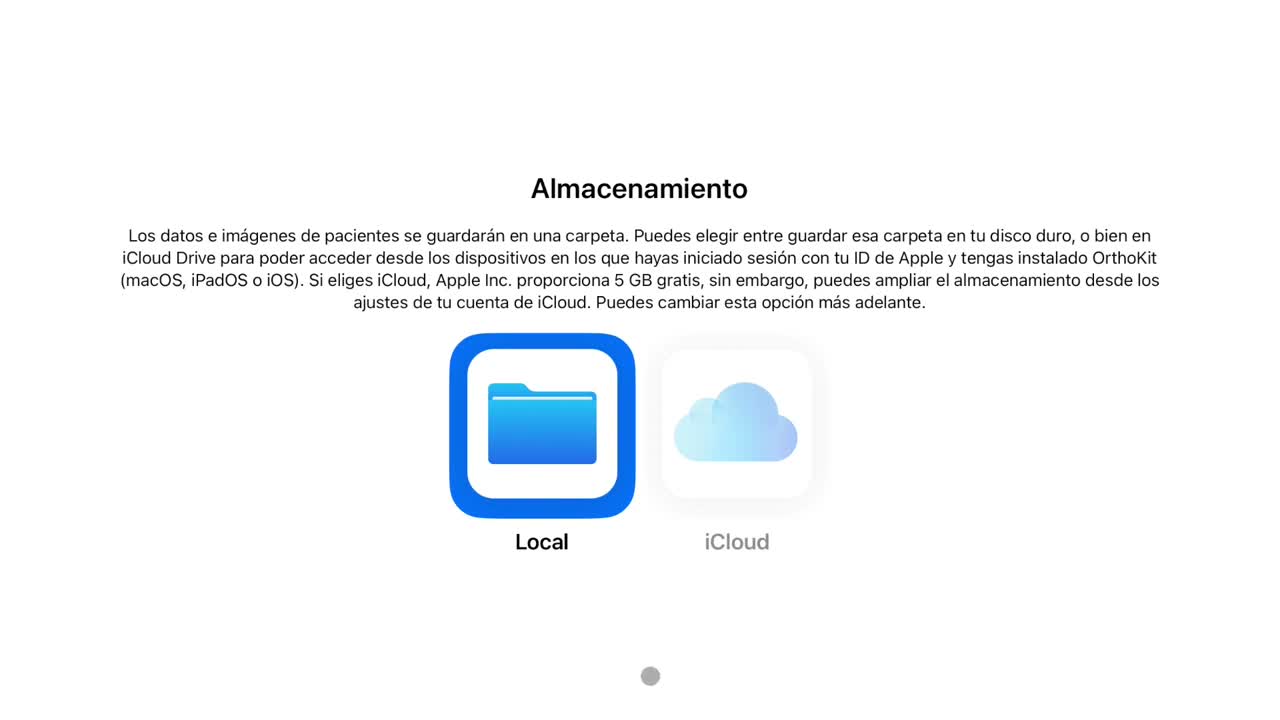
- Choose where to save files:
- Local: photos and records stay on the iPad.
- iCloud: data syncs with other devices using your Apple ID.
- If you are going to use OrthoKit on Mac and iPad, enable iCloud to share data between them.
First Patient
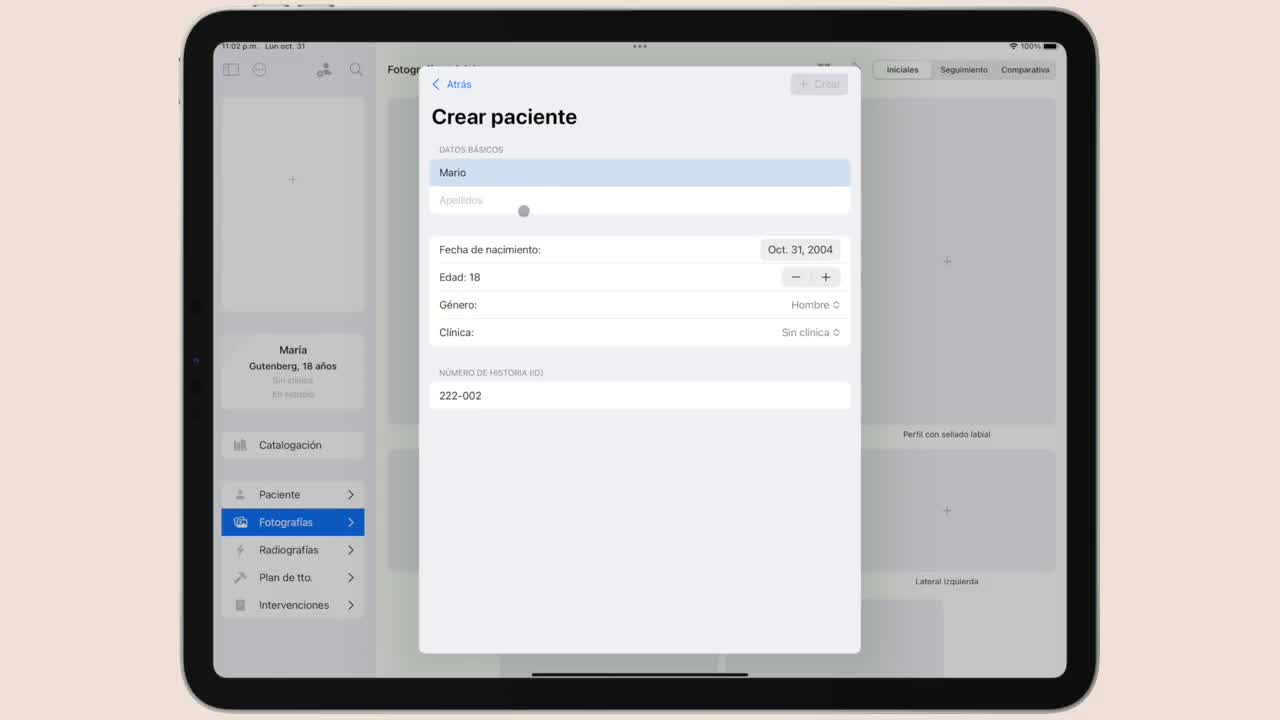
- Create the first patient by entering first and last name.
- Tap
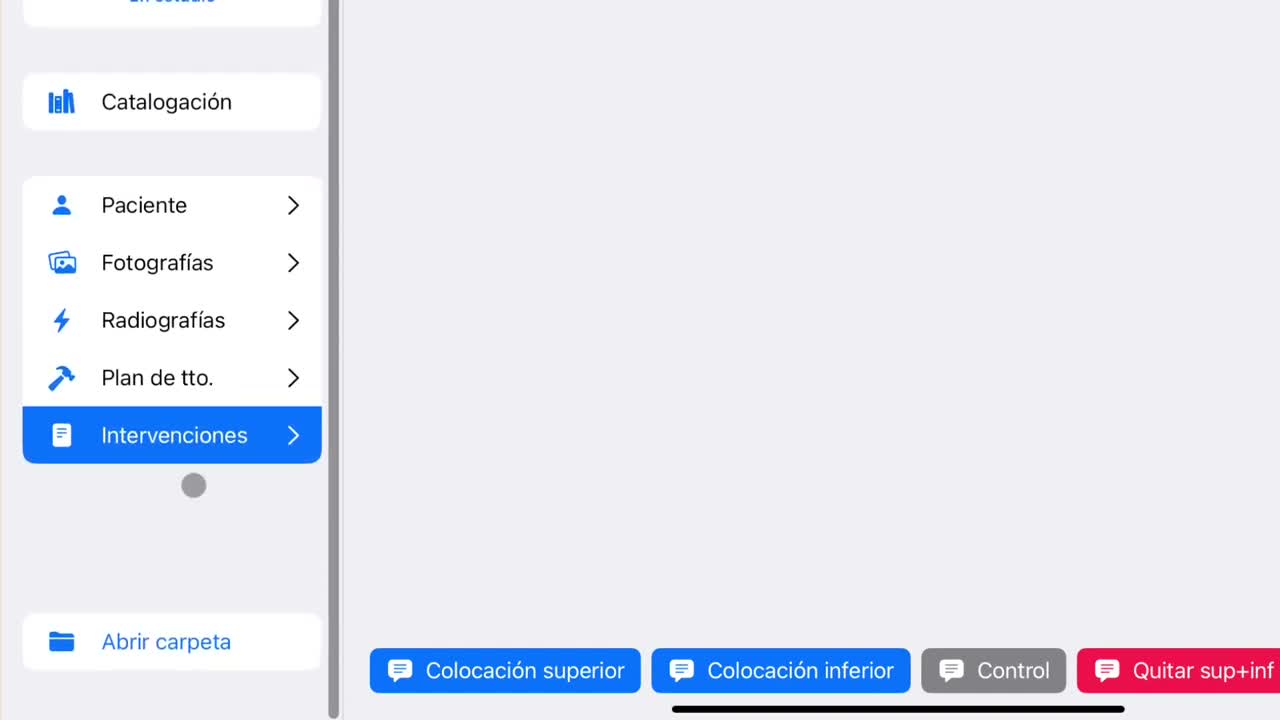
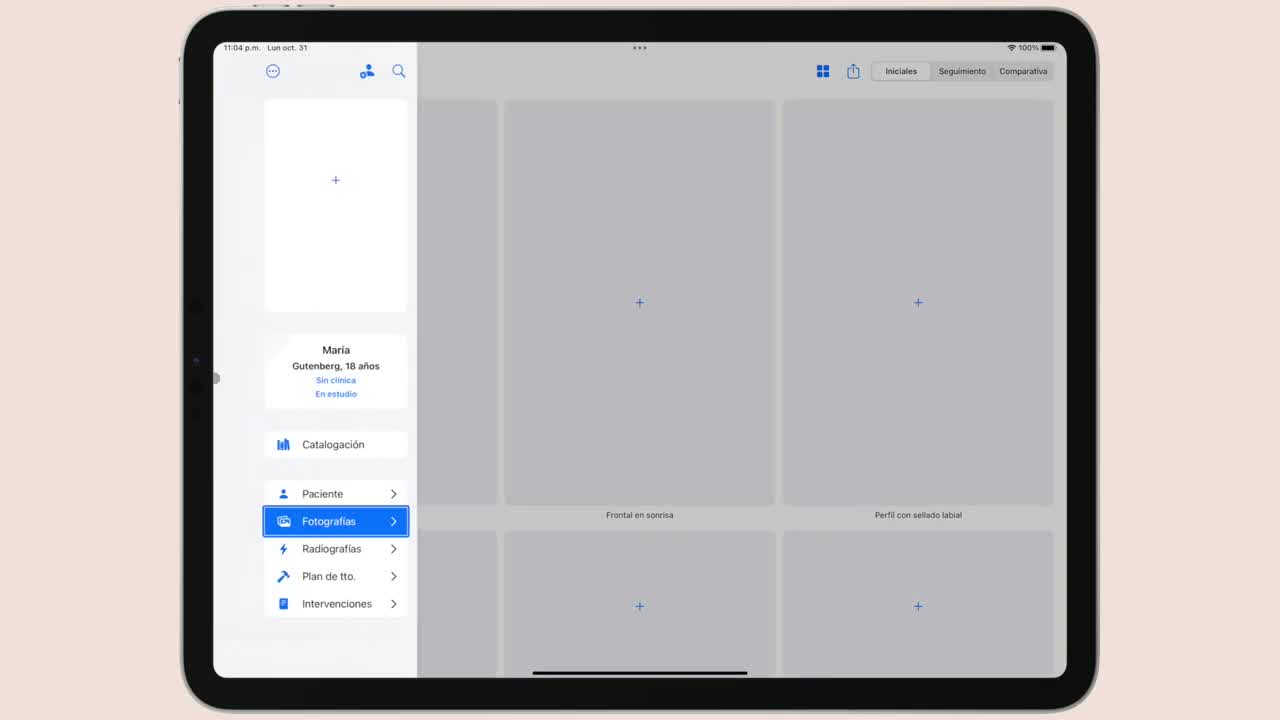
Createto automatically open their record. - Review the left sidebar. From there you can switch between overview, radiographs, treatment plan and interventions.
- Go to
Catalogingto assign tags, warnings, colors or other organizational data. - Tap the magnifying glass to open the patient list.
- Double-tap a patient to open them.
- Use the new-patient button to create another record.
Sidebar and Options
You can hide or show the sidebar with the upper-left button. If it is hidden, you can also swipe from the left edge of the iPad to show it.
The iPad options button groups actions such as importing a patient, exporting it, generating a PDF or opening settings.