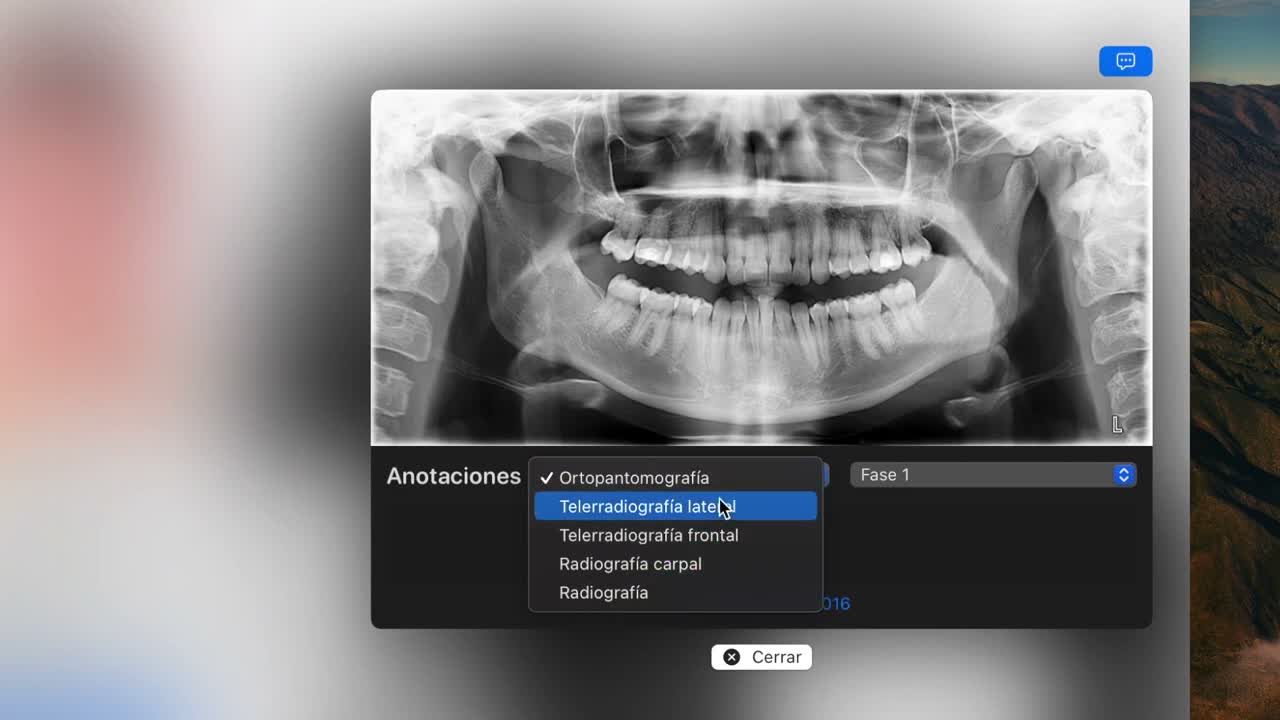
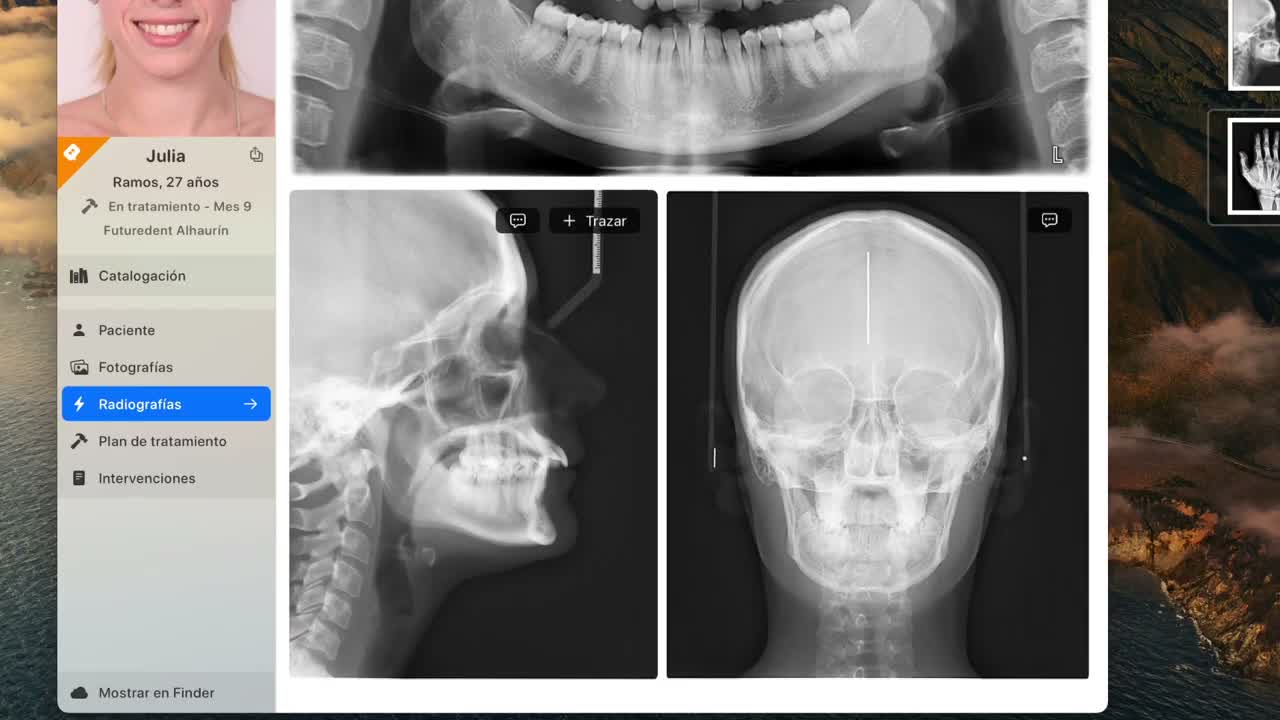
Radiographs are imported by dragging files into the patient’s record. OrthoKit tries to classify them automatically and places them in the corresponding area, but you can always correct the type, phase, date or annotations.
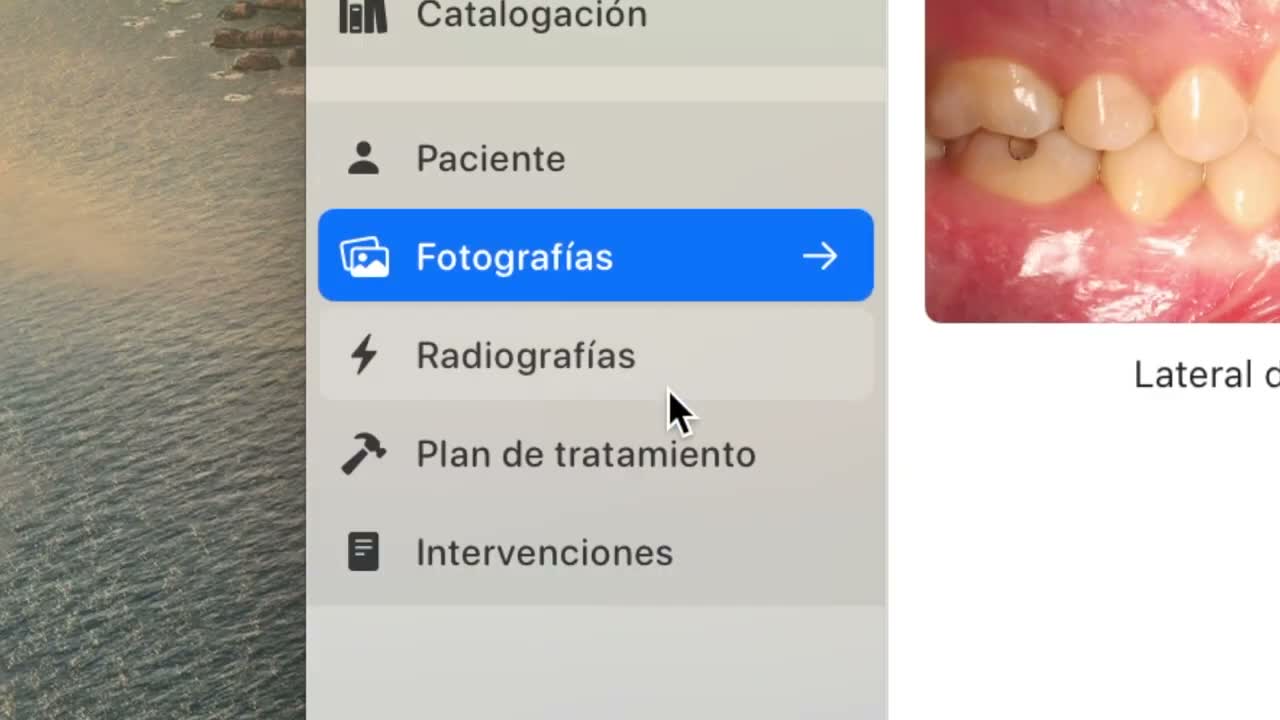
Before You Start
- Have the correct patient open.
- Prepare one or more radiographs in Finder.
- Check that the files belong to that patient before dragging them.
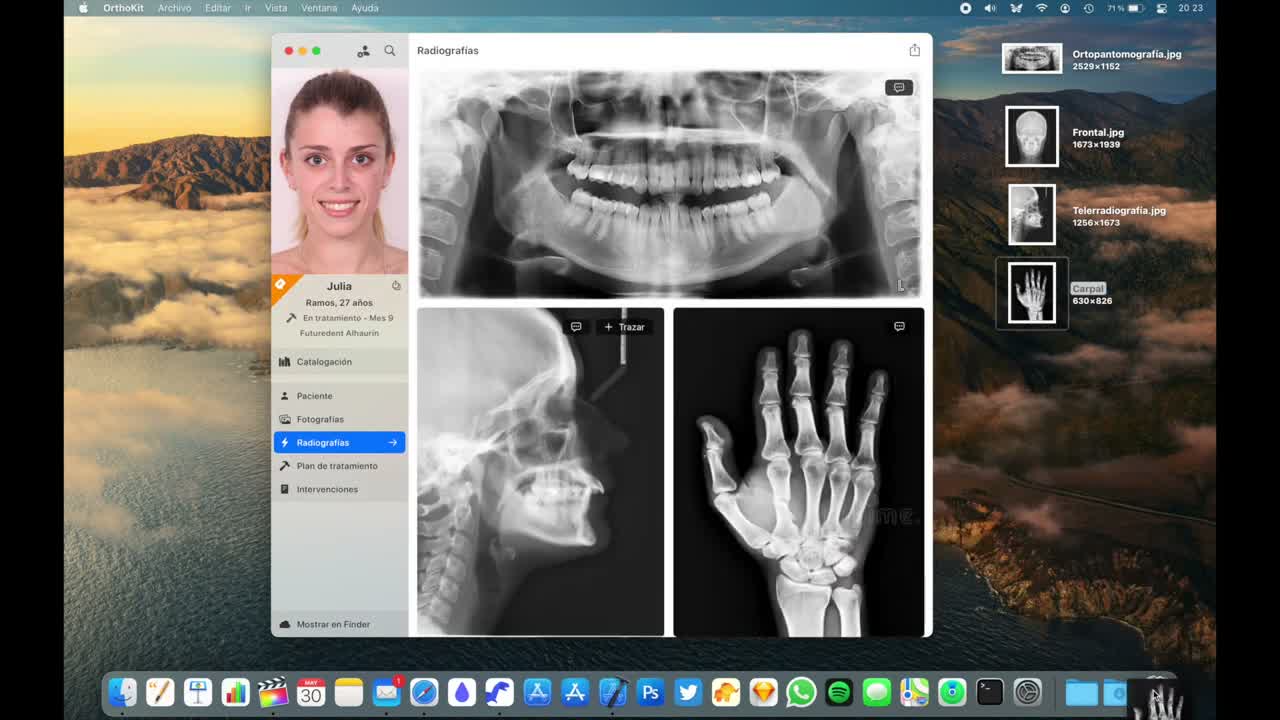
Import and Classify
- Open OrthoKit and select the patient.
- Go to the radiographs tab.
- In Finder, select the radiographs you want to import.
- Drag the files directly into OrthoKit.
- If you later need to add another radiograph, drag it in the same way and it will be added to the existing ones.
- To delete a radiograph, drag it to the trash.
- Review how OrthoKit automatically classifies each image using artificial intelligence.
- Check that panoramic radiographs appear at the top, cephalometric radiographs in the middle area and the rest of the radiographs in the lower area.
Annotate and Review
- If a radiograph is not classified correctly, click its
Annotationsbutton. - From
Annotations, change the radiograph type, treatment phase, date or a custom note. - If a radiograph has an annotation, the button appears marked in blue.
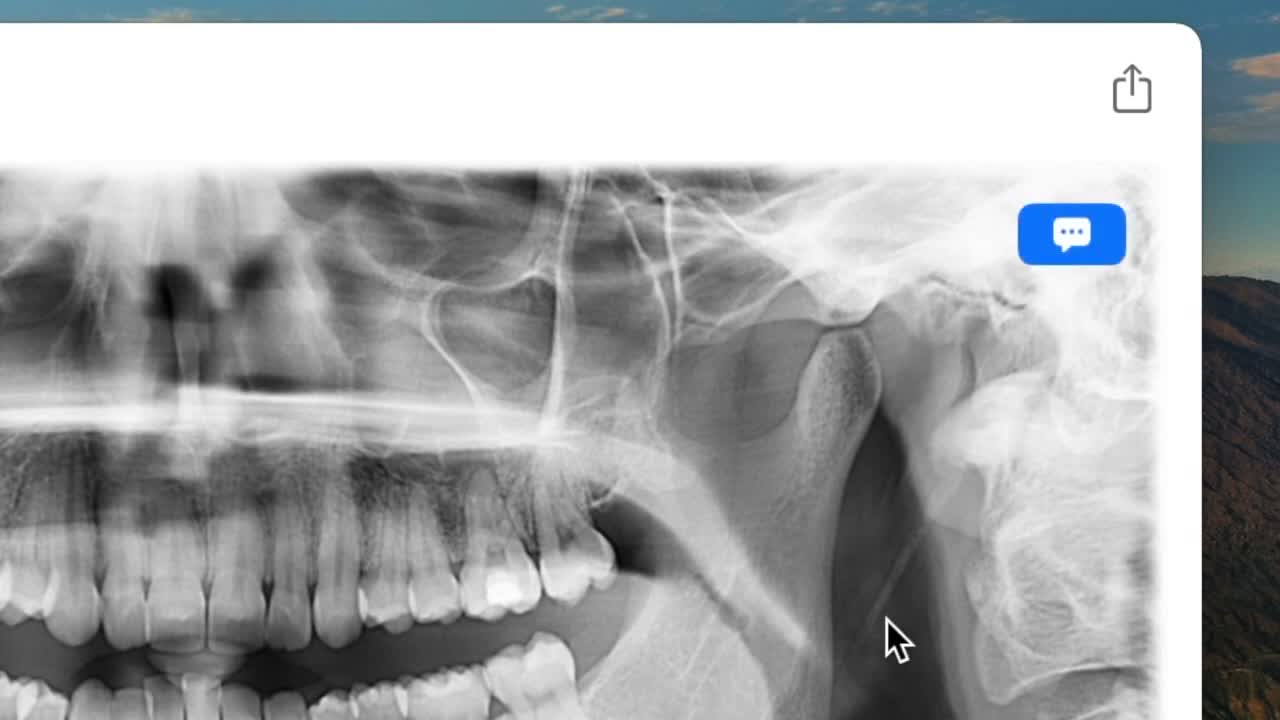
- Click a radiograph to open it larger.
- Use the trackpad to zoom with your fingers, or the
+and-buttons if you work with a mouse. - Adjust contrast with the slider in the lower-right corner when you need to review the image better.
Common Issues
| Issue | What to do |
|---|---|
| OrthoKit misclassifies a radiograph | Open Annotations and change the type manually. |
| I want to correct the phase or date | Use the radiograph’s Annotations button. |
| I need to see the image better | Open it larger, use zoom and adjust contrast. |
| The contrast remains modified | The adjustment is temporary and returns to zero; it does not alter the original file. |