On iPadOS, cephalometric tracing follows the same clinical workflow: choose a lateral cephalometric radiograph, calibrate it, mark anatomical points and review the analysis before exporting or expanding it.
Before You Start
- Import the lateral cephalometric radiograph first.
- Check that the image includes a calibration ruler.
- Always review the result with clinical judgment.
Trace the Radiograph
- Open the patient and go to radiographs.
- Select the lateral cephalometric radiograph.
- Tap
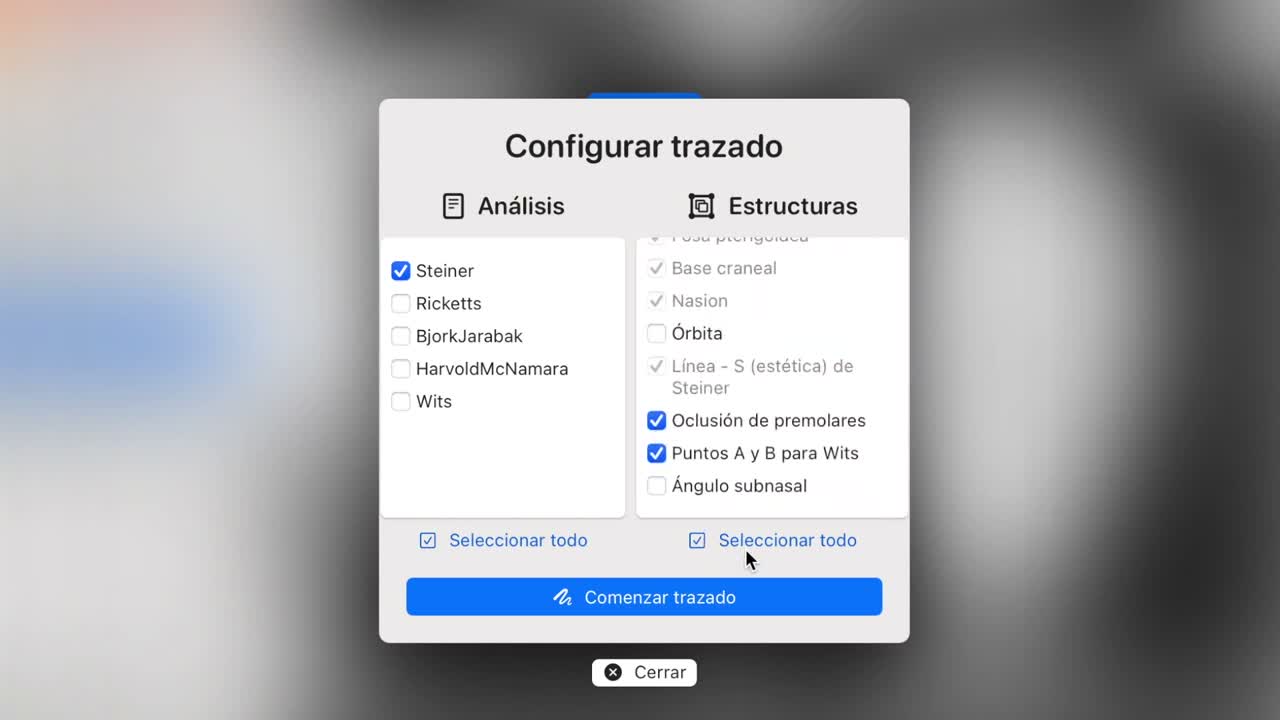
Trace. - In the initial configuration, choose the analysis you want to perform.
- Review the mandatory structures associated with that analysis.
- Tap
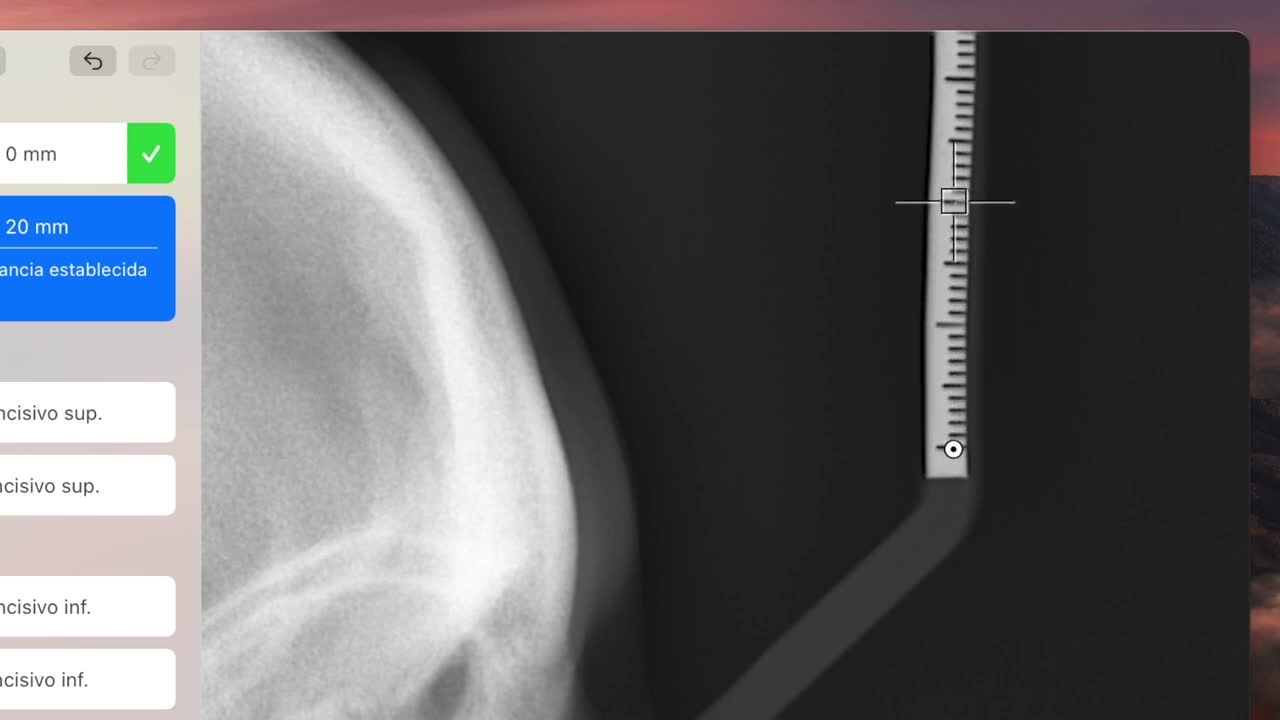
Start Tracing. - First mark calibration points
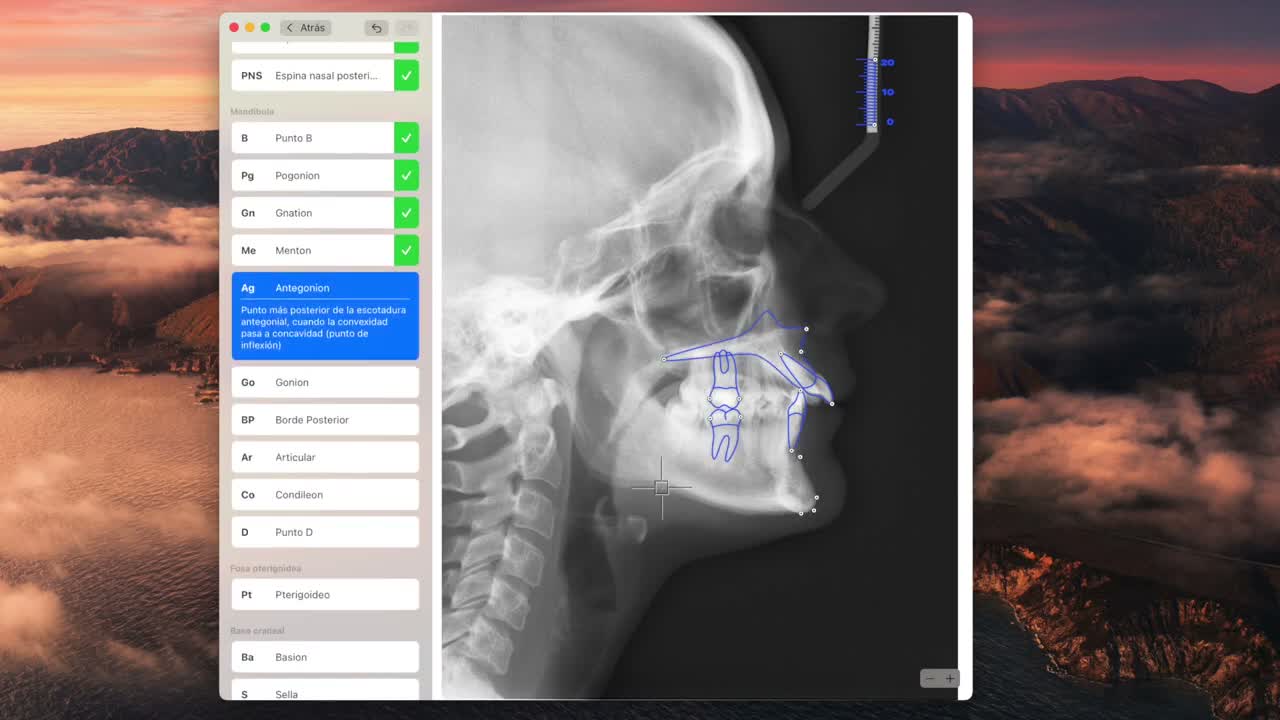
0and20on the radiograph ruler. - Follow the list of anatomical points in the order indicated by OrthoKit.
- Use each point’s description when you are unsure where to place it.
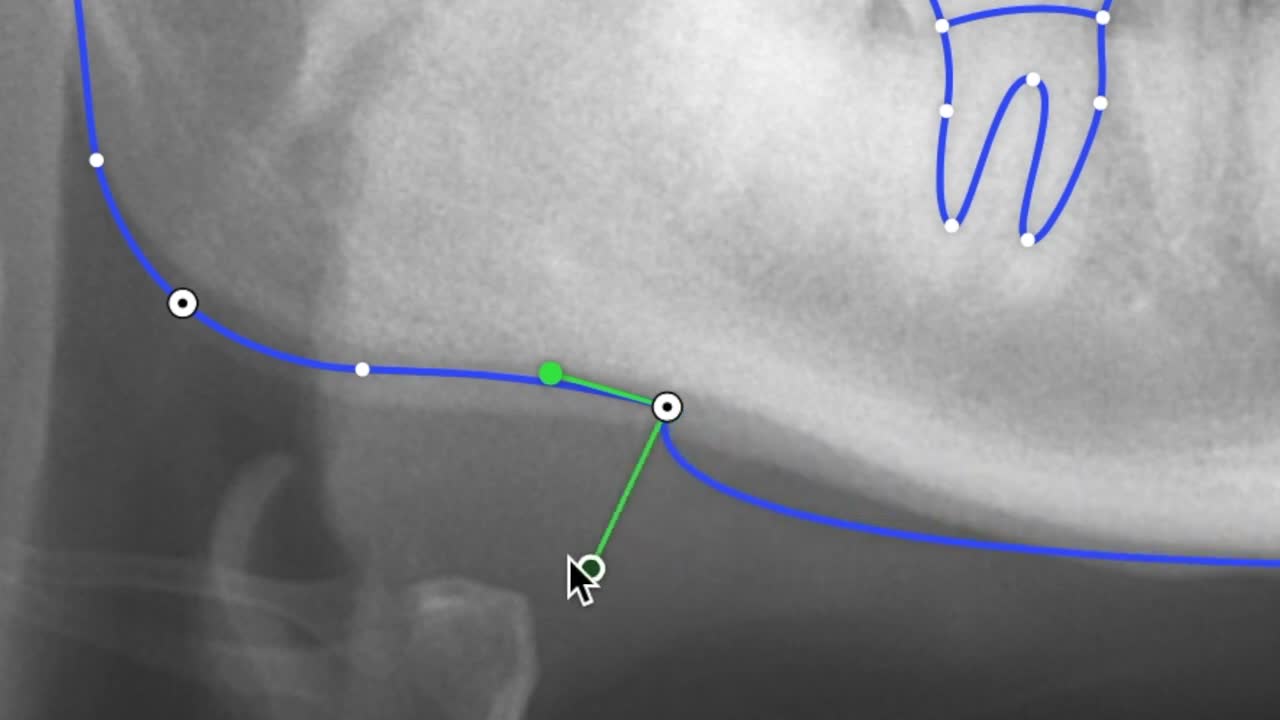
- Correct any points that are not well positioned.
Review and Export
- When finished, review the radiograph, structures, points and tracing with the display controls.
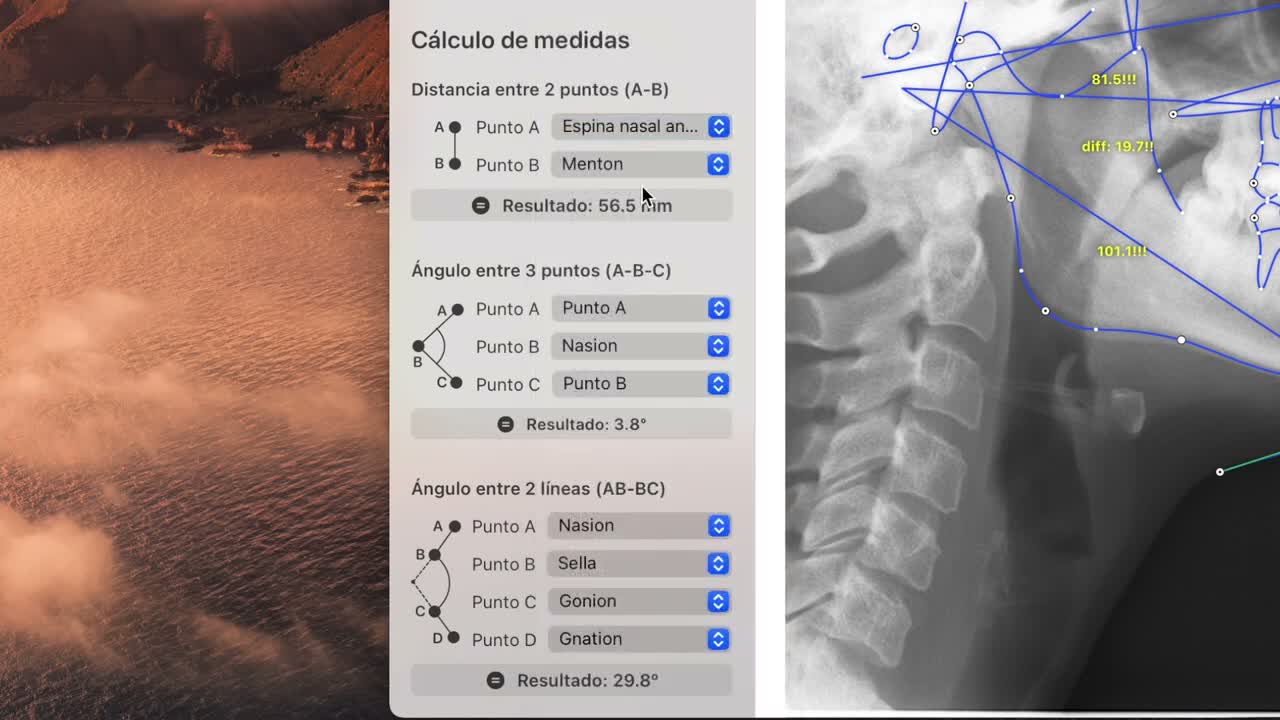
- Open the analysis to see the calculated measurements.
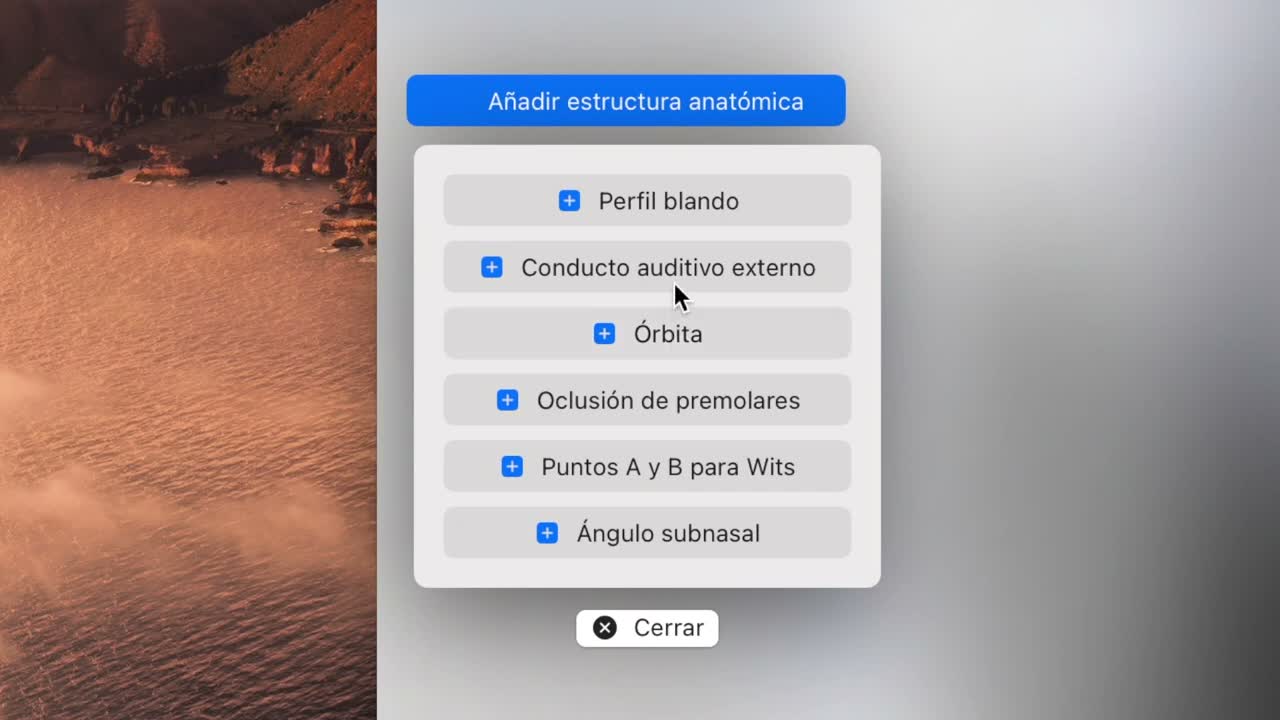
- Add additional structures or analyses if the case requires it.
- Export the analysis, or use
Share Allif you want to generate a single file with several analyses.
Clinical Recommendations
- The initial calibration affects linear measurements.
- If
Tracedoes not appear, check inAnnotationsthat the image is marked as a lateral cephalometric radiograph. - Do not use the result without professional review.