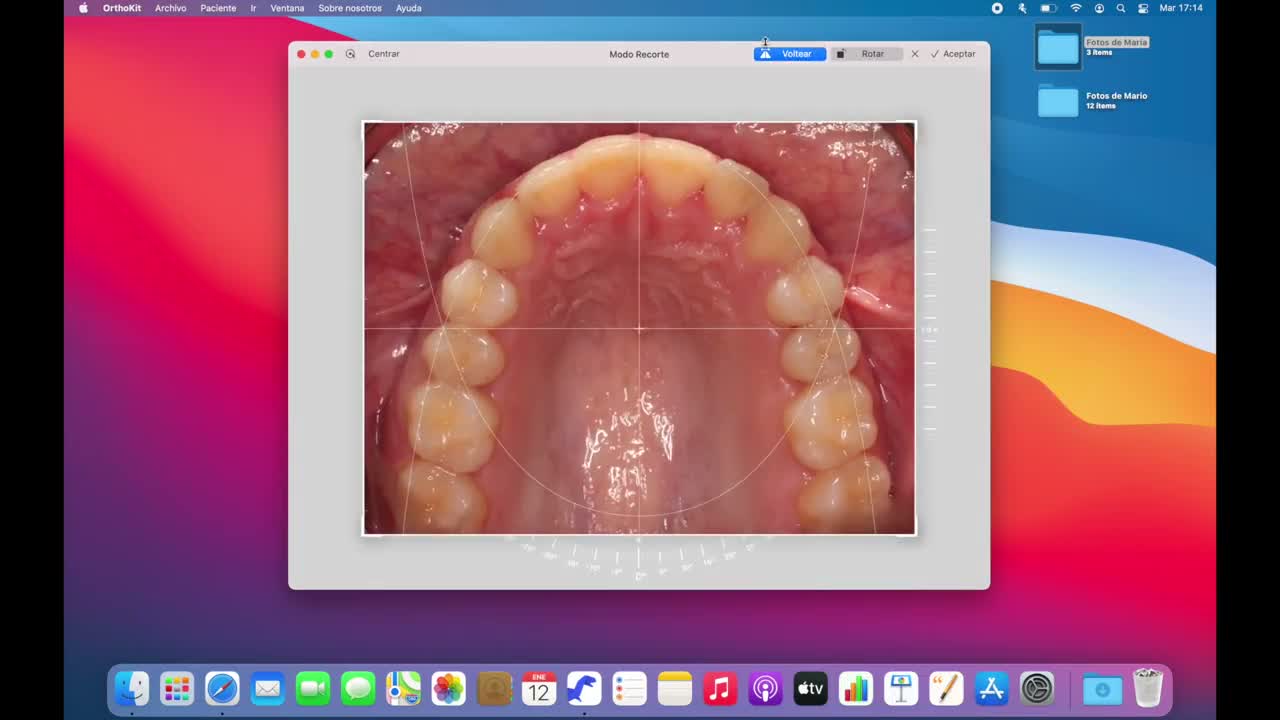
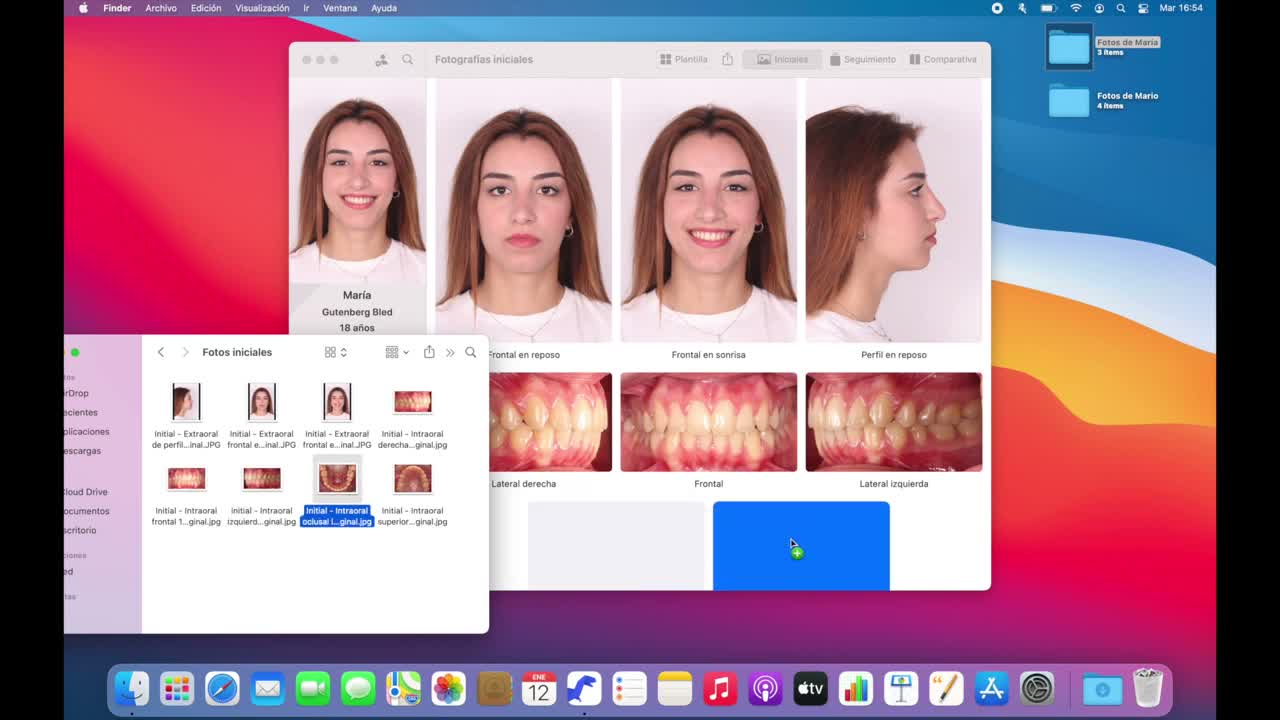
The initial photo template lets you organize a patient’s extraoral and intraoral photos in a standard layout. From macOS, you can fill it by dragging files from Finder, correct placement mistakes, export images and crop each photo without losing the original.
Before You Start
- Have the patient created.
- Prepare the photos in a local folder.
- Use the usual views: frontal smiling, profile at rest, lateral intraoral, frontal, lower occlusal and upper occlusal.
Import Photos
- Open OrthoKit and select the patient.
- Go to the
Photostab. - In Finder, open the folder containing the photos.
- Drag each image to the corresponding box in the template.
- If you place a photo in the wrong slot, drag it to the trash to delete it or drag it to the correct box to move it.
- If the destination box already has a photo, OrthoKit swaps the two photos.
Review and Crop
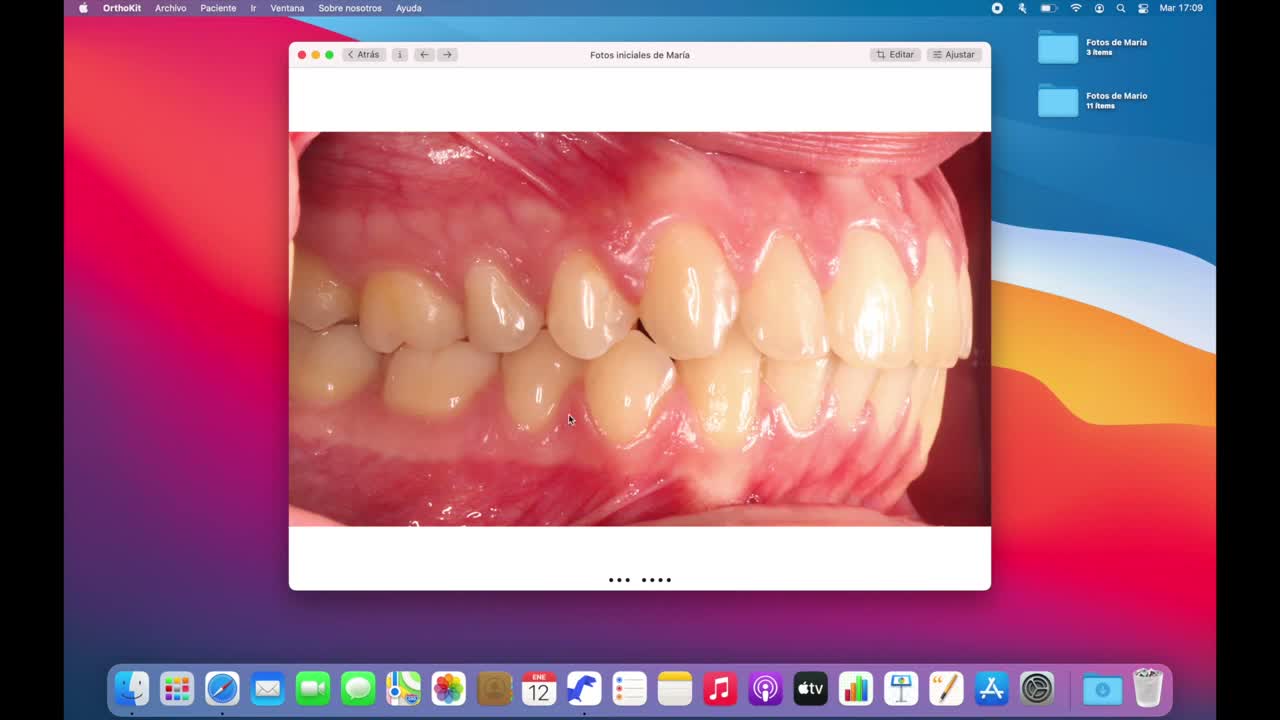
- Click a photo to open the viewer.
- Use the keyboard arrows or the swipe gesture to change photos.
- Click
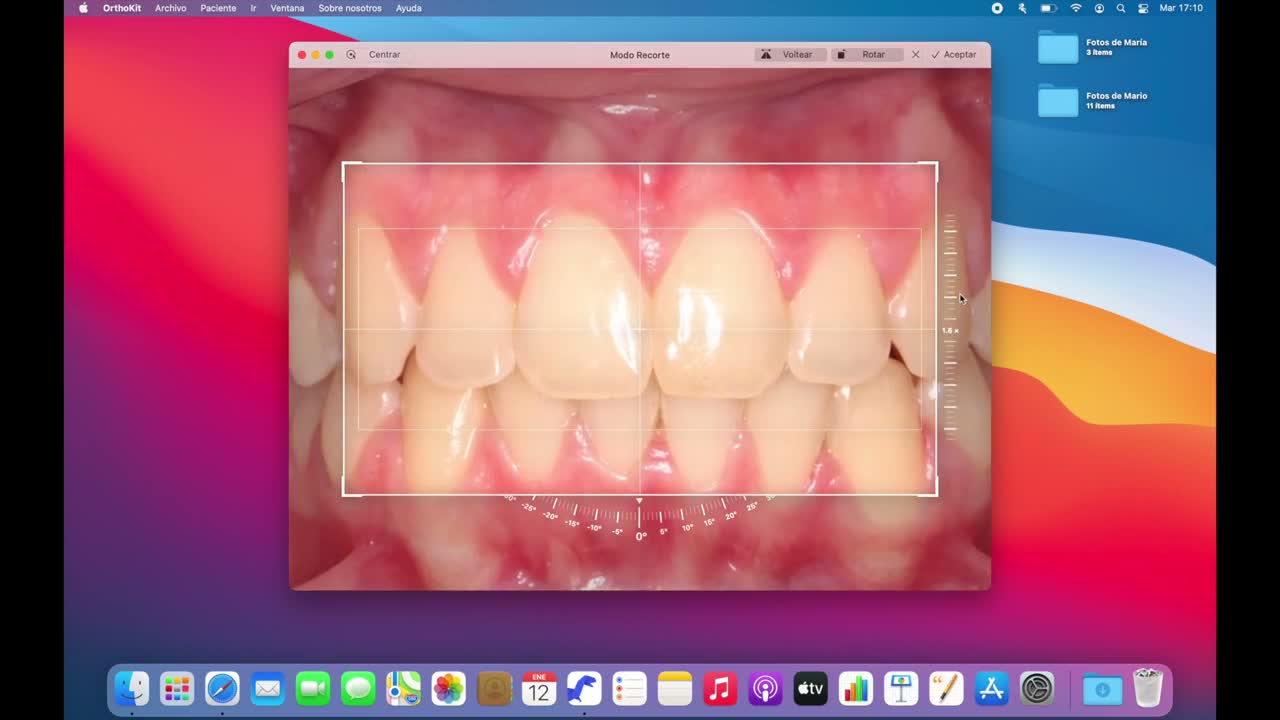
Editto enter crop mode. - Adjust zoom, position, rotation or leveling with the trackpad or side controls.
- Use center or a two-finger double tap to return to the original state if you need to start over.
- Accept the crop when the image is correctly framed.
Export
You can drag an individual photo to the desktop, a folder, Mail or Keynote. If you need to export the full template, use the share button and generate the PDF.
Common Issues
| Issue | What to do |
|---|---|
| The photo does not appear | Check that it was imported into the active patient and that no filters are applied. |
| The photo is in the wrong box | Drag it to the correct box; OrthoKit will move it or swap it with the existing one. |
| I want to remove a photo | Drag it to the trash. |
| I need to take a photo to another app | Drag it to the desktop, Mail or Keynote. |
| The crop does not look right | Open Edit, adjust the image and remember that OrthoKit keeps the original. |