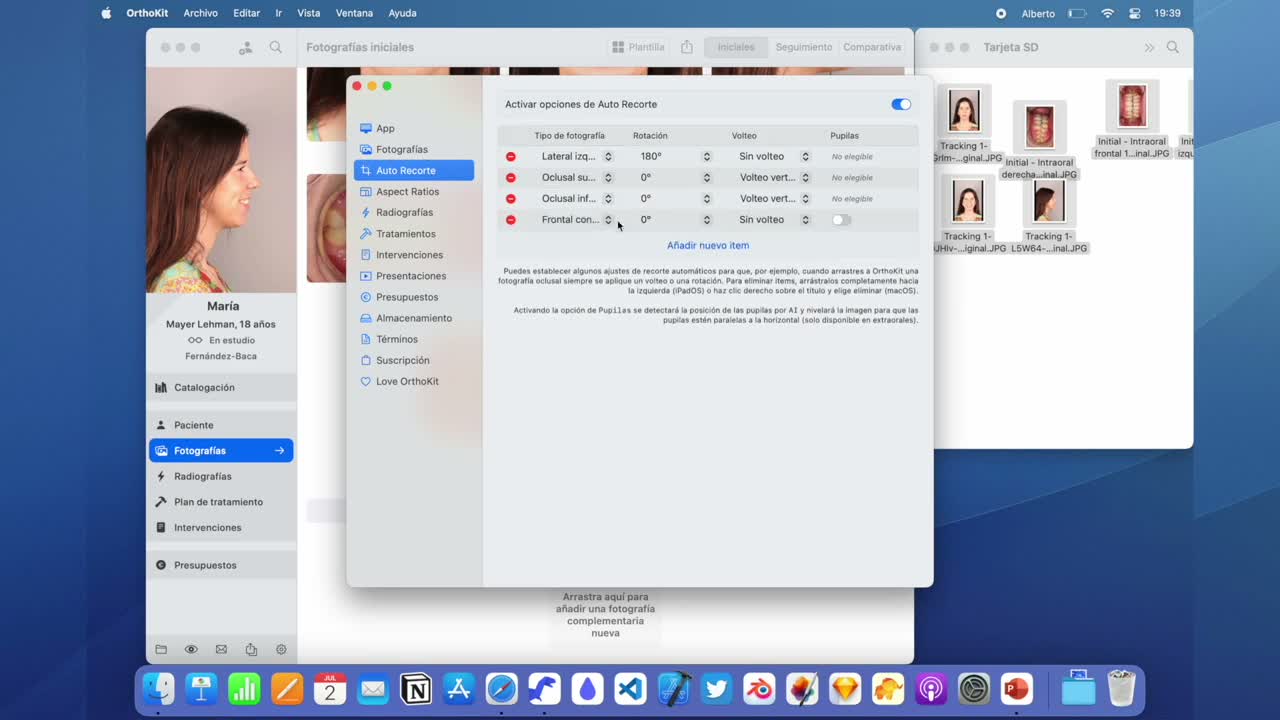
Auto-cropping avoids repeating the same manual corrections over and over. You can automate rotations, flips and pupil alignment so certain photos enter the template already prepared.
Before You Start
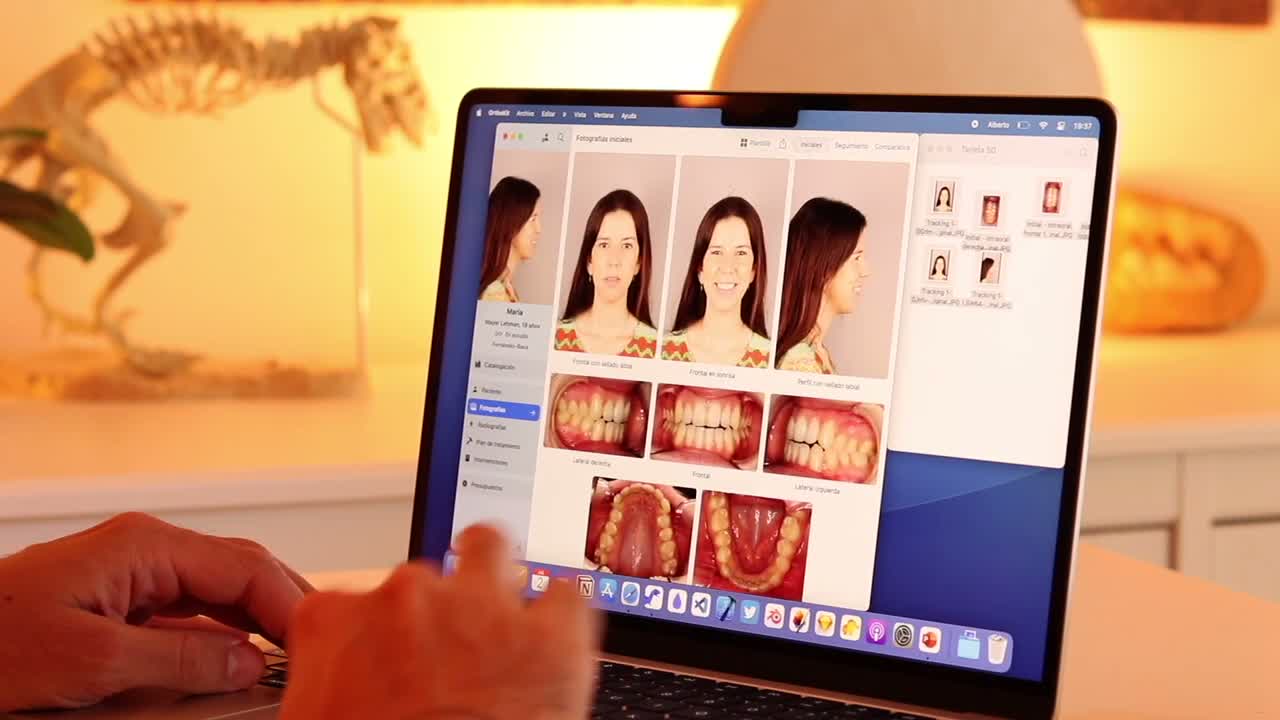
- Identify the photos you always correct in the same way, such as occlusal or lateral photos.
- Enable auto-cropping options from OrthoKit settings.
- Review the automatic result before using it in reports or comparisons.
Automate Rotations and Flips
- Open
Settingsin OrthoKit. - Go to the auto-cropping option.
- Enable
Auto-cropping options. - Add an auto-cropping item for each type of photo you want to automate.
- For example, configure the left lateral photo with a 180-degree rotation if you always import it upside down.
- Configure the upper occlusal photo with a vertical flip.
- Configure the lower occlusal photo with a vertical flip.
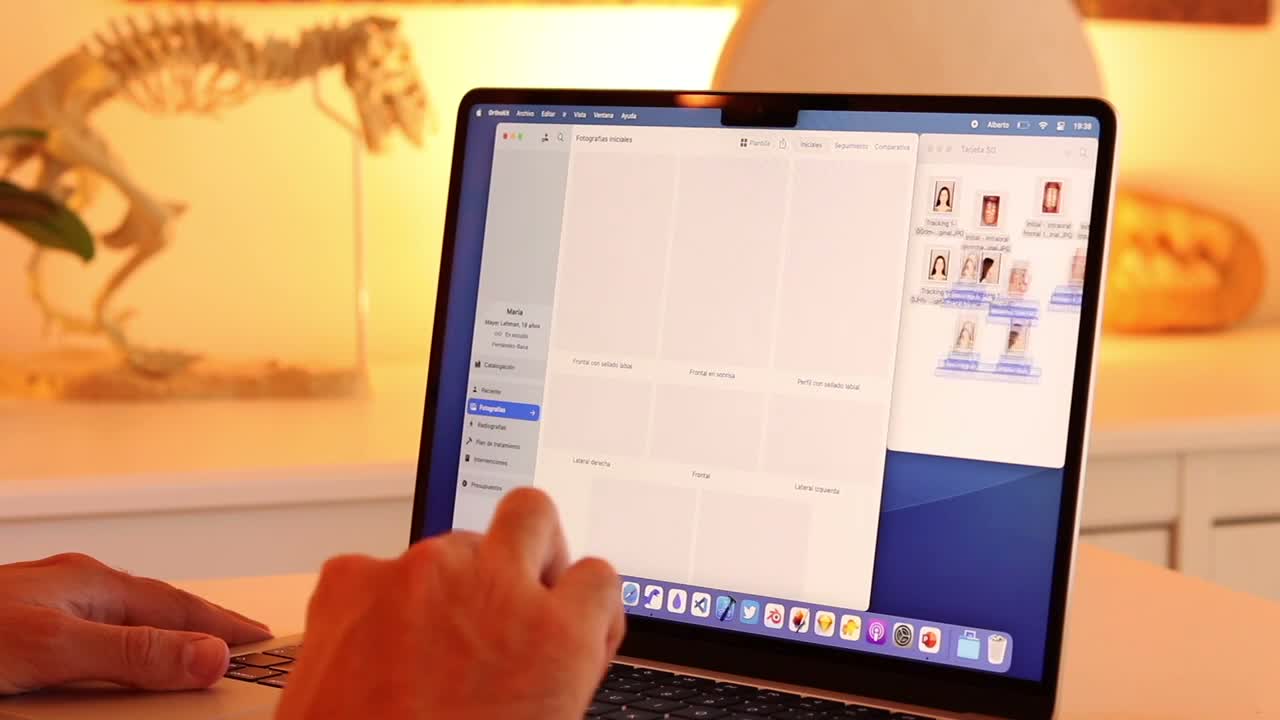
- Return to an empty photo template and drag in the images.
- Check that OrthoKit automatically applies the configured rotation or flip.
Align Pupils
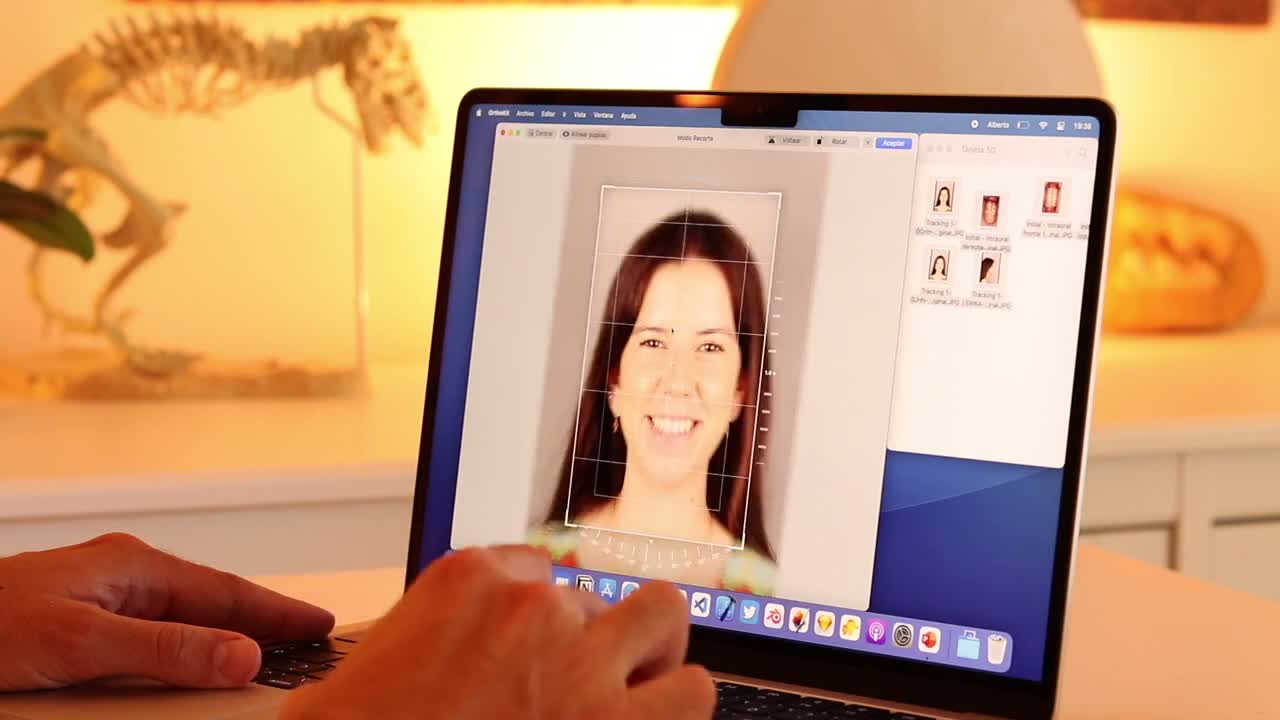
- To align pupils manually, open a frontal photo in crop mode.
- Click
Align Pupilsin the upper-left area. - Check that OrthoKit detects the pupils and levels the face relative to the horizontal.
- To automate it, return to auto-cropping and add rules for
Frontal at restandFrontal smiling. - Enable the pupil option in those rules.
- Drag the frontal photos again and check that they are imported already aligned.
When to Review Manually
- If one pupil is not clearly visible.
- If there are glasses, reflections or poor lighting.
- If the head is very rotated.
- If the automatic result does not match your clinical or photographic judgment.